 Minecraft Texture Packs Minecraft Resource Packs
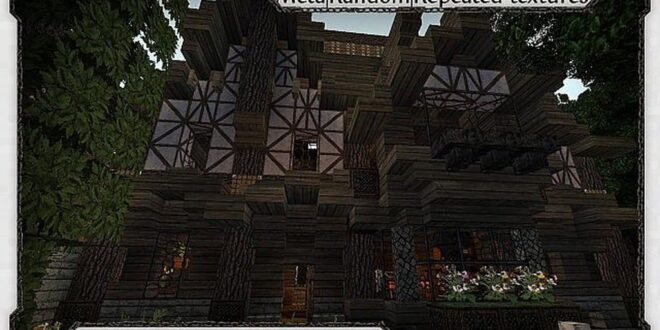
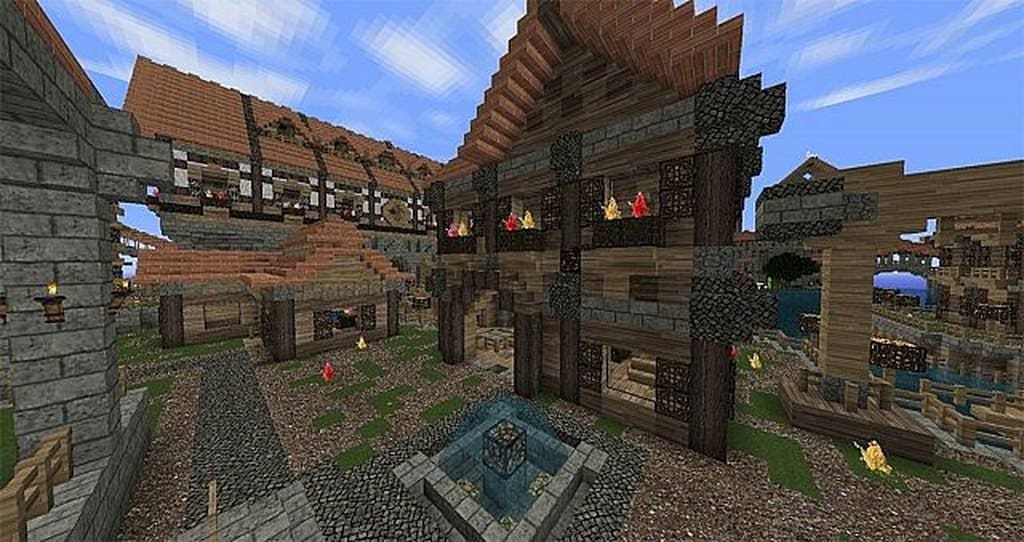
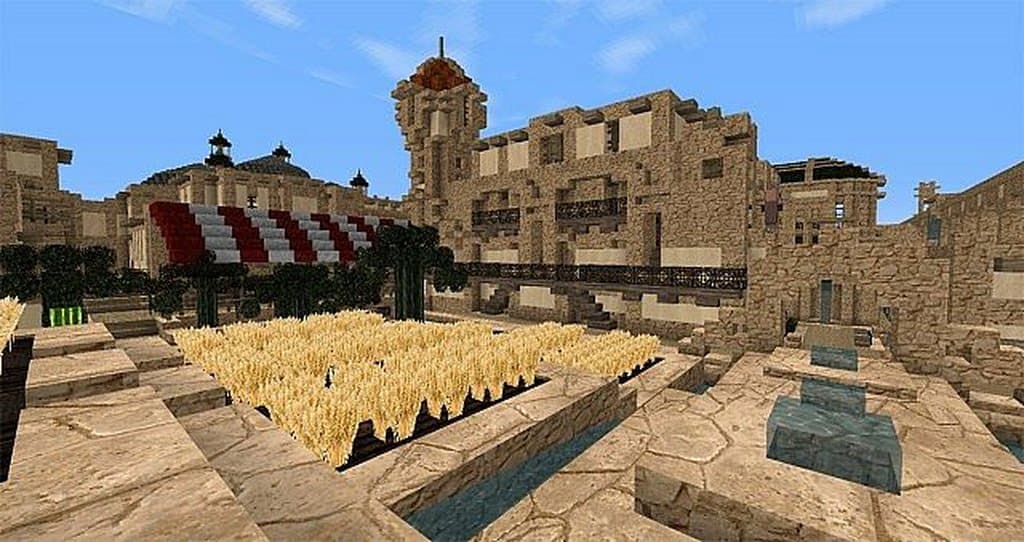
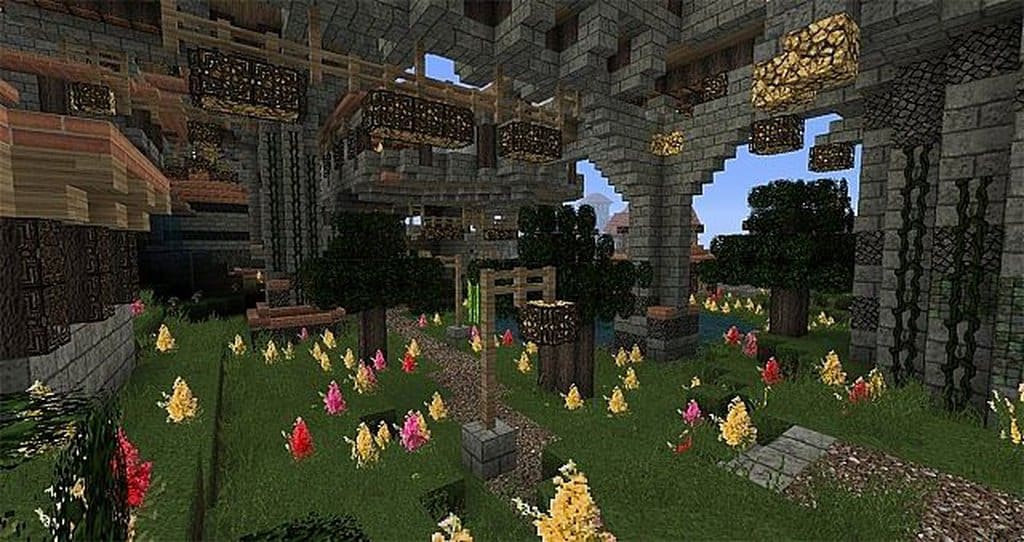
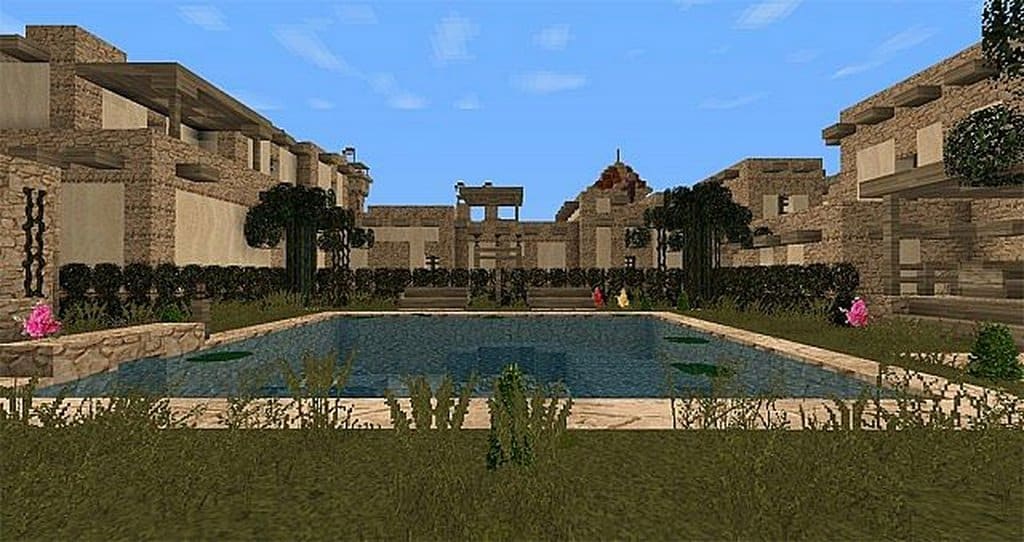
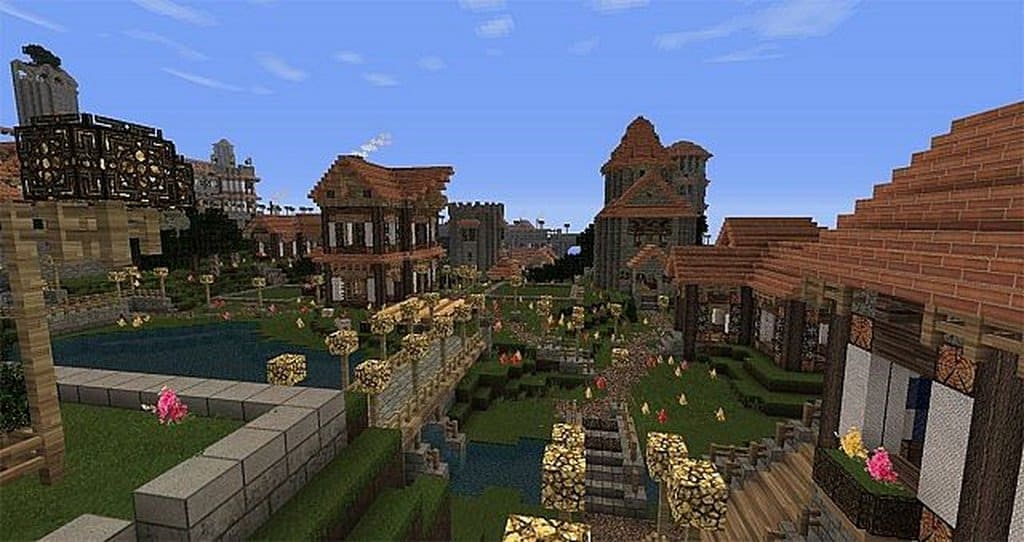
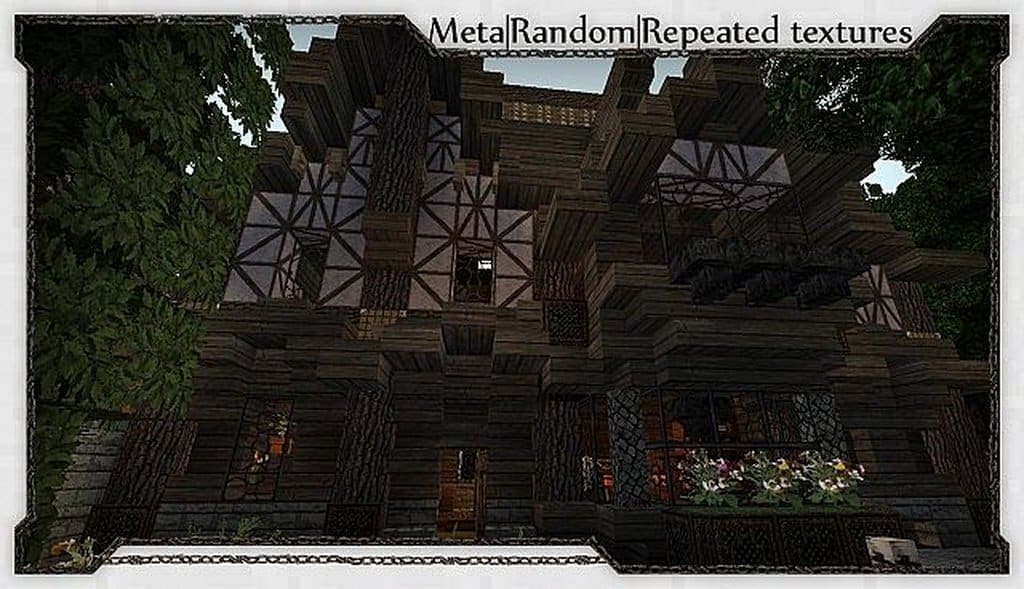
One of the absolute earliest texture packs ever developed for Minecraft has got to be Ravand’s realistic resource pack! Originally released more than five years ago, it might not see regular updates anymore, but I was amazed to see that this pack still holds incredible popularity among dedicated Minecraft players. It is crafted specifically for players who truly want to become completely involved in the game, featuring a gorgeous medieval look. While I have tried and used a ton of well-designed resource packs over the years playing Minecraft, Ravand’s realistic pack truly stands apart for several great reasons. The textures are carefully designed to provide even the smallest details, making the entire world feel wonderfully immersive. Every single visual for the various items actually looks real, and because of this, I found myself completely engrossed in my gameplay adventures.
As soon as you apply Ravand’s pack to your Minecraft world, you will immediately notice how exceptionally detailed the textures are. The color palette used is wonderfully bright and genuinely enhances the overall gameplay experience. Another fantastic feature I noticed is how clean and free of visual noise the textures are, and happily, this clarity does not compromise the fine detailing which remains the absolute highlight of the pack. I love that this pack comes in five different resolutions, ranging right from 16×16 as the lowest all the way up to 256×256 as the highest. If you decide to go with the 256×256 resolution, just keep in mind that you will definitely need a high-quality computer with a powerful processor and sufficient memory to fully enjoy all its stunning features. On the other hand, if you want to run the resource pack smoothly while keeping a comfortable framerate, you can easily choose the lower resolution versions like 64×64 and 32×32, which I found work wonderfully even on lower-end computers.
Ravand’s Realistic should be compatible with all of these Minecraft versions: 1.7.10 – 1.7.9 – 1.7.4 – 1.7 – 1.6.4 – 1.6.2
Screenshots
How to Install Texture Pack (Simple 10 Steps)
- Download OptiFine: Most of the texture packs and shaders need OptiFine. That’s why, first download and install OptiFine for the version of Minecraft you want to play.
- Download the Texture Pack: Get the texture pack you want from the download section. Choose the version that works with your Minecraft and your PC’s performance.
- Open Minecraft Launcher: Start Minecraft using the official game launcher — or even TLauncher, if you use that.
- Go to Options: From the main menu, click on the “Options” button.
- Open Resource Packs: Inside Options, click on “Resource Packs…”.
- Open the Resource Pack Folder: Click on “Open Resource Pack Folder” — this will open a folder named “resourcepacks”.
- Move the Pack File: Copy or move the .zip file you downloaded into that “resourcepacks” folder. (Don’t unzip the file — Minecraft uses it as-is!)
- Go Back and Refresh: Close the folder and click “Done”, then go back into “Resource Packs…” again.
- Activate the Pack: You’ll see the pack on the left side. Hover over it and click the arrow to move it to the right (active side).
Tip: If you get a message that the pack is for a different version, just click “Yes” — it usually works fine. - Click Done and Enjoy: Click “Done” again. Now your pack is ready to use in-game. It’s that easy!
Credits
Ravand’s Realistic Resource Pack was originally created and developed by ravand. We do not claim ownership of any original assets and do not host modified files. All rights belong to the original creator, and we strongly encourage supporting ravand by downloading directly from the official links provided.
Download Links
Java Edition
Download Instructions
Curseforge: download starts automatically after a few seconds;
Mediafire: click the big blue button with the text “DOWNLOAD”;
Google Drive: in the top right corner you will see a small download icon (down arrow), click it and the download should start;