 Minecraft Texture Packs Minecraft Resource Packs
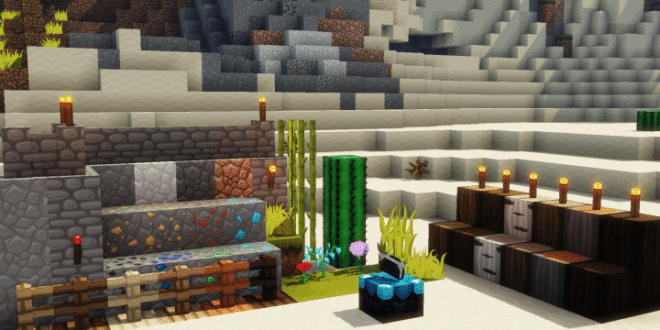
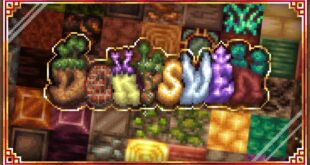
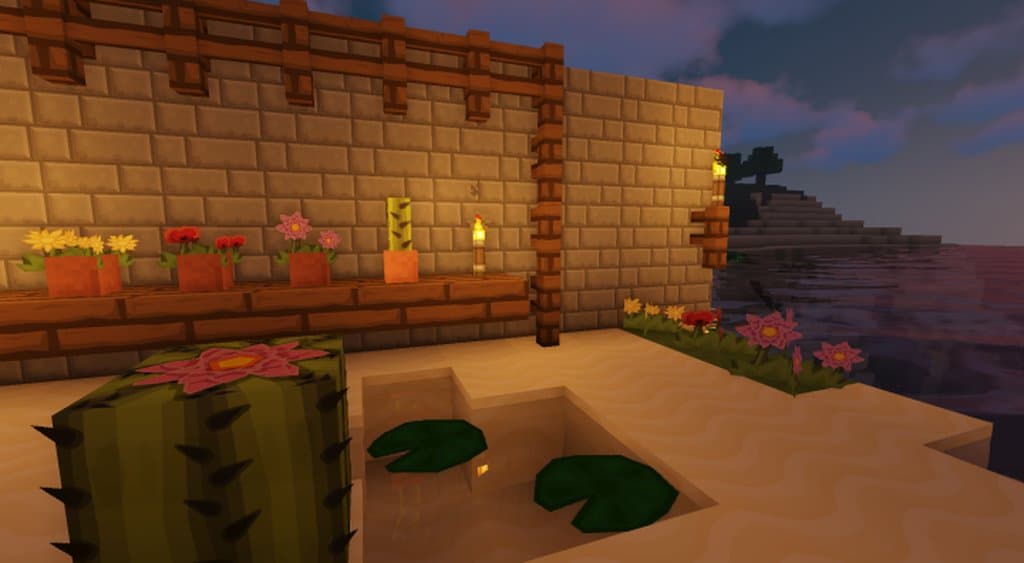
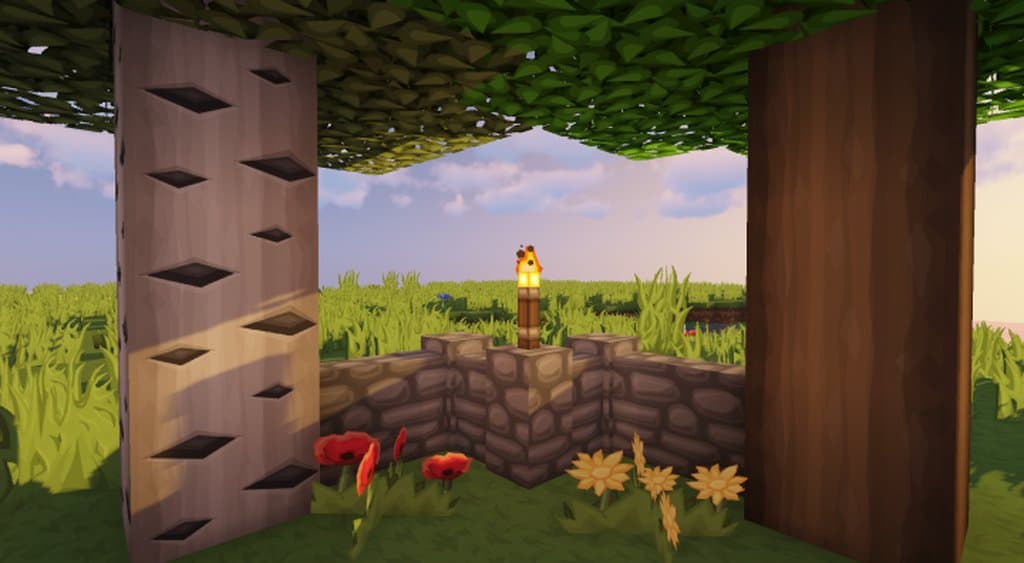
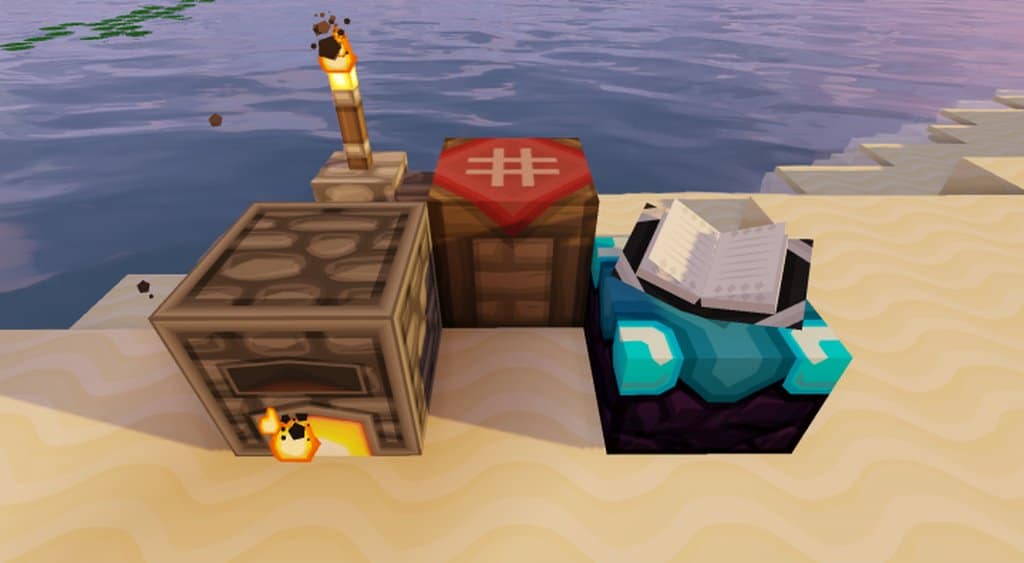
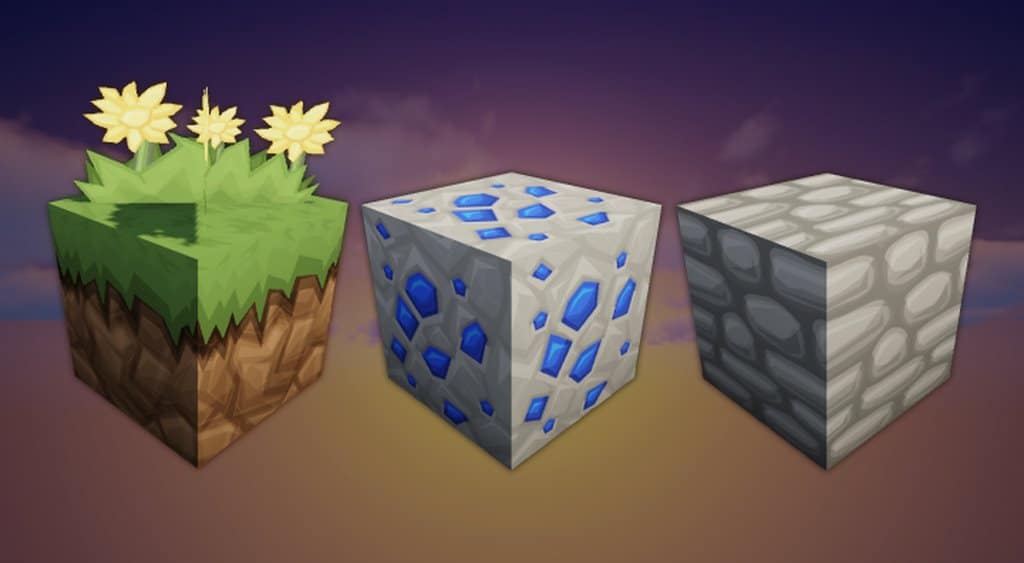
Have you heard about this fantastic VividHD resource pack which was designed with the pretension to envy cartoon texture pack but with simplified intuition? I tested it out myself, and the creator was truly able to make something exceptional! The unique thing about VividHD is that this pack has a few fetching and very comprehensive textures that make the world wonderfully engaging. Most cartoonish and simplistically designed resource packs usually don’t come with any high-resolution textures to offer: VividHD resource pack features are different, and that is why I strongly recommend giving it a try to explore its great and improved features. As explained above, VividHD resource pack was literally blended from simple and cartoonish artistic styles. Do you know why the Minecraft gaming community warmly welcomed the VividHD resource pack?
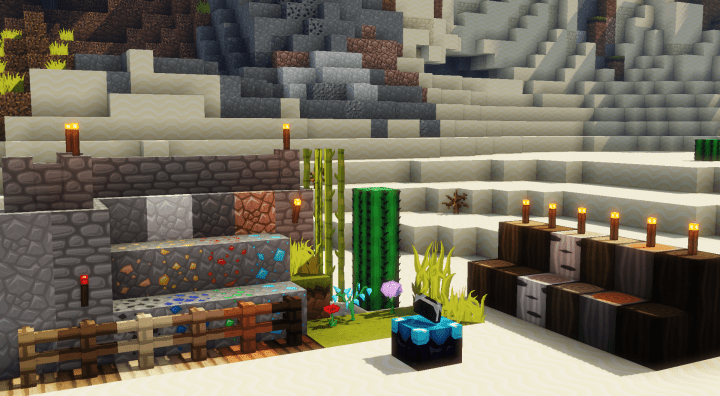
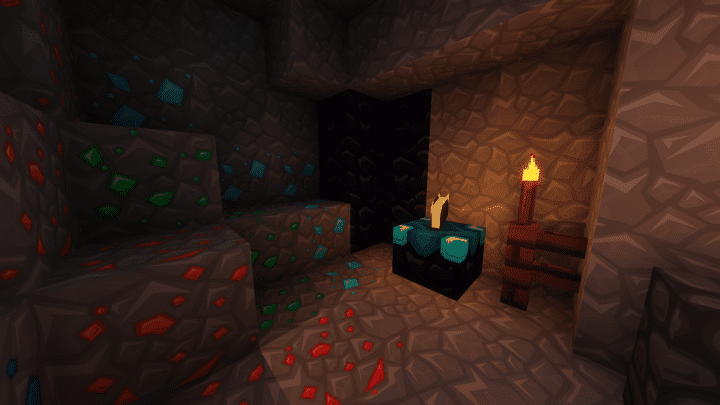
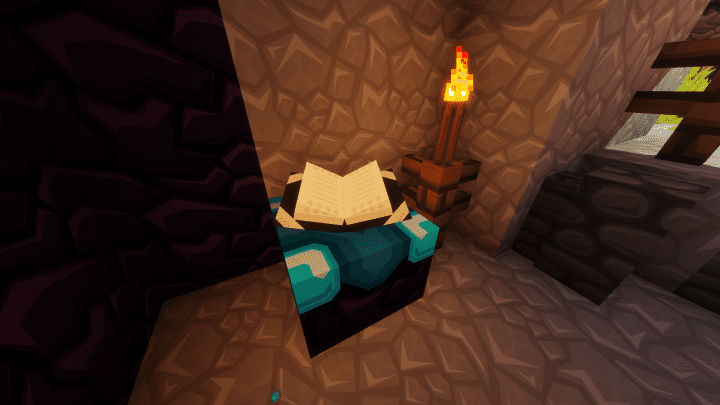
Because the combination of these two styles effectively complemented each other and tremendously improved the graphics in a way you just have to see to believe. This is what gamers like, great visuals! The VividHD set of textures not only look fabulous, but the detailing level in them will make you step in to witness their towering beauty firsthand. Complementing the beautiful textures of the VividHD pack is a gorgeous palette of bright colors that are vibrant and restore life in every single texture of the game. For this resource pack to work optimally, you must download Optifine and also deactivate the alternate textures because they affect its textures’ performance and can cause some complications. Currently, you can get the VividHD resource pack with a massive 512×512 and 128×128 resolution. If you want to thoroughly enjoy this new pack’s great features, I suggest playing Minecraft on a high-end PC that won’t let you down.
VividHD should be compatible with all of these Minecraft versions: 1.14.4 – 1.14.3 – 1.14.2 – 1.14 – 1.13.2 – 1.13.1 – 1.13
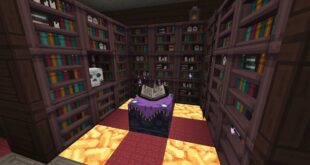
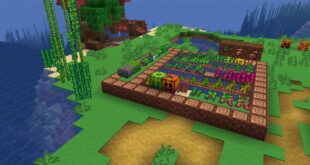
Screenshots
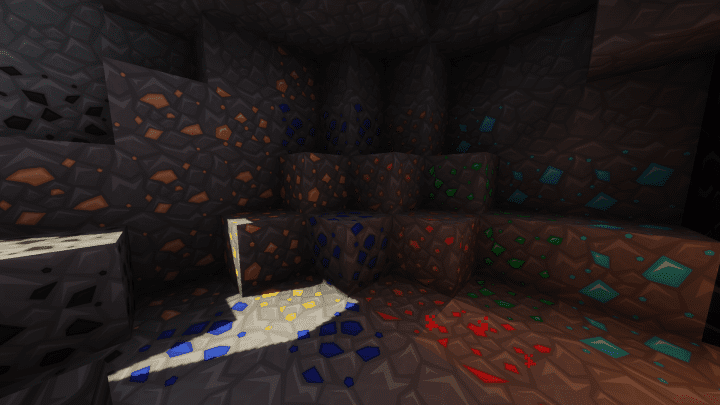
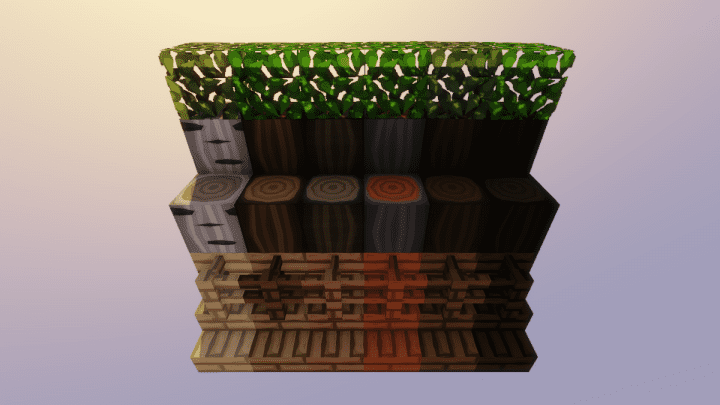
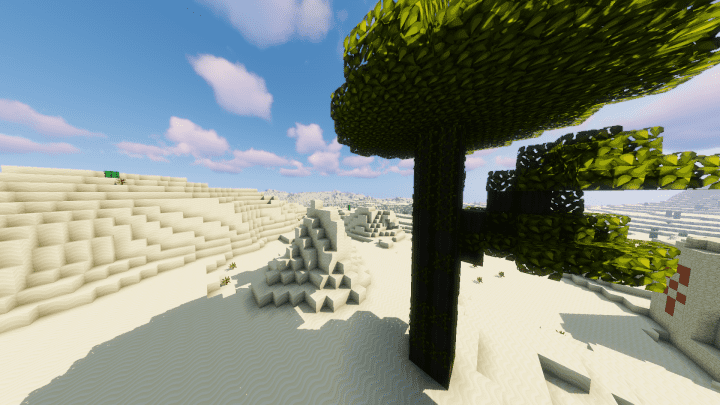
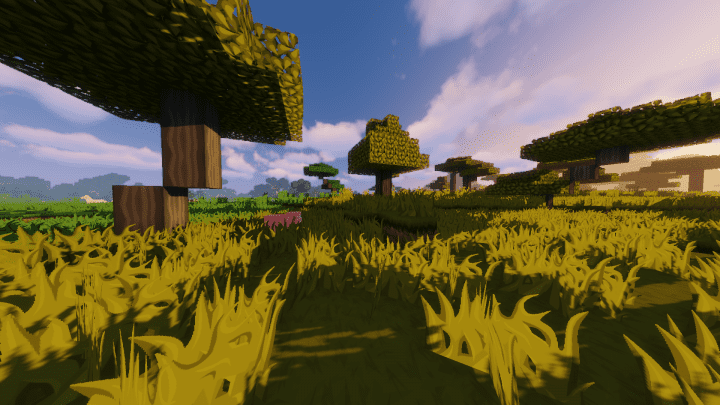
How to Install Texture Pack (Simple 10 Steps)
- Download OptiFine: Most of the texture packs and shaders need OptiFine. That’s why, first download and install OptiFine for the version of Minecraft you want to play.
- Download the Texture Pack: Get the texture pack you want from the download section. Choose the version that works with your Minecraft and your PC’s performance.
- Open Minecraft Launcher: Start Minecraft using the official game launcher — or even TLauncher, if you use that.
- Go to Options: From the main menu, click on the “Options” button.
- Open Resource Packs: Inside Options, click on “Resource Packs…”.
- Open the Resource Pack Folder: Click on “Open Resource Pack Folder” — this will open a folder named “resourcepacks”.
- Move the Pack File: Copy or move the .zip file you downloaded into that “resourcepacks” folder. (Don’t unzip the file — Minecraft uses it as-is!)
- Go Back and Refresh: Close the folder and click “Done”, then go back into “Resource Packs…” again.
- Activate the Pack: You’ll see the pack on the left side. Hover over it and click the arrow to move it to the right (active side).
Tip: If you get a message that the pack is for a different version, just click “Yes” — it usually works fine. - Click Done and Enjoy: Click “Done” again. Now your pack is ready to use in-game. It’s that easy!
Credits
This resource pack was created by Tanner77. We acknowledge and respect the original creator’s ownership of the asset. We do not claim ownership of this modification, nor do we host modified files on our servers. We highly encourage you to support the creator by visiting their official download links.
Download Links
Java Edition
Download Instructions
Curseforge: download starts automatically after a few seconds;
Mediafire: click the big blue button with the text “DOWNLOAD”;
Google Drive: in the top right corner you will see a small download icon (down arrow), click it and the download should start;