 Minecraft Texture Packs Minecraft Resource Packs
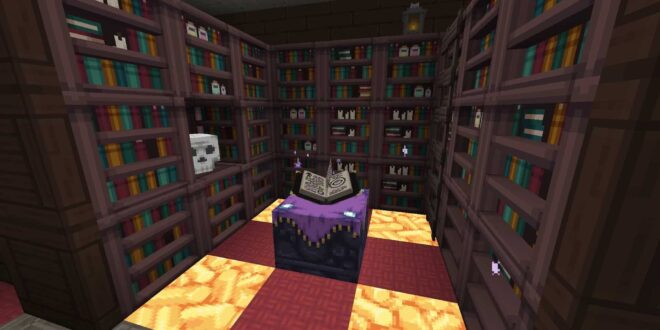
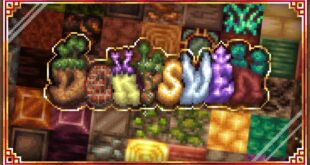
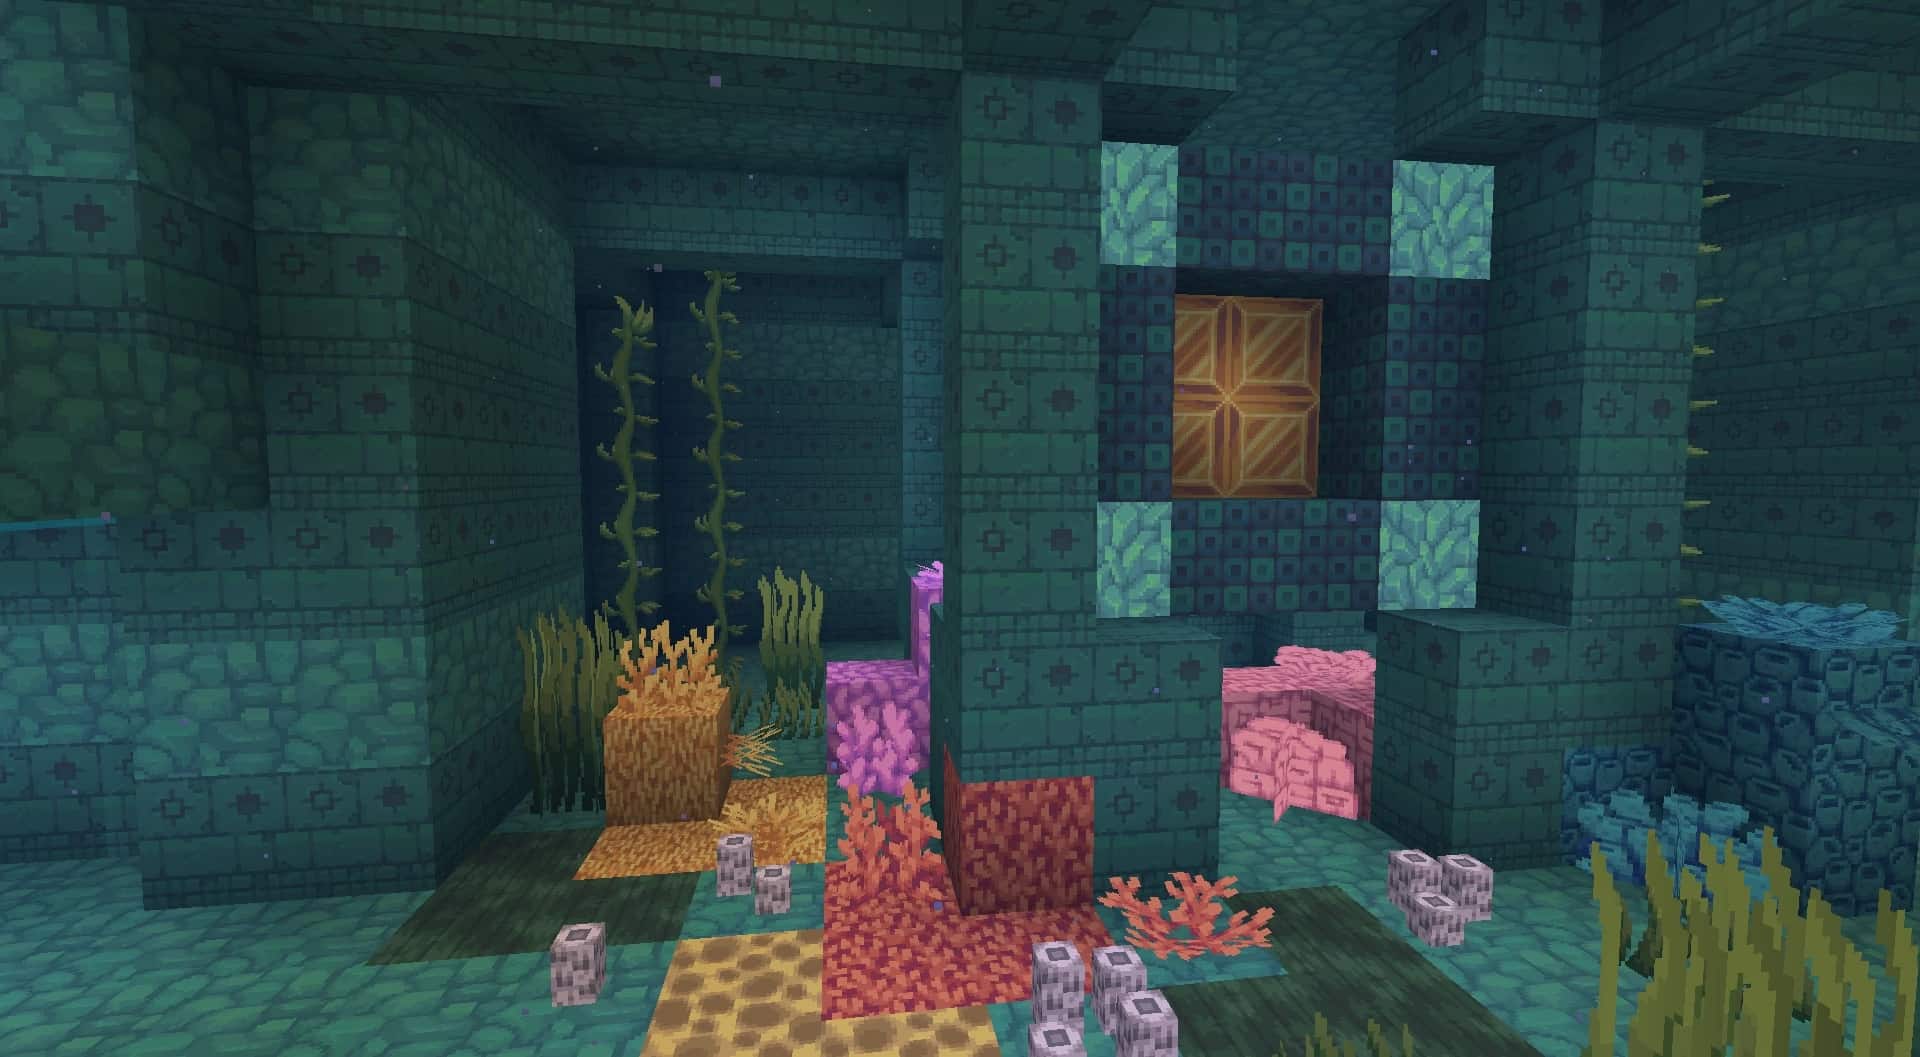
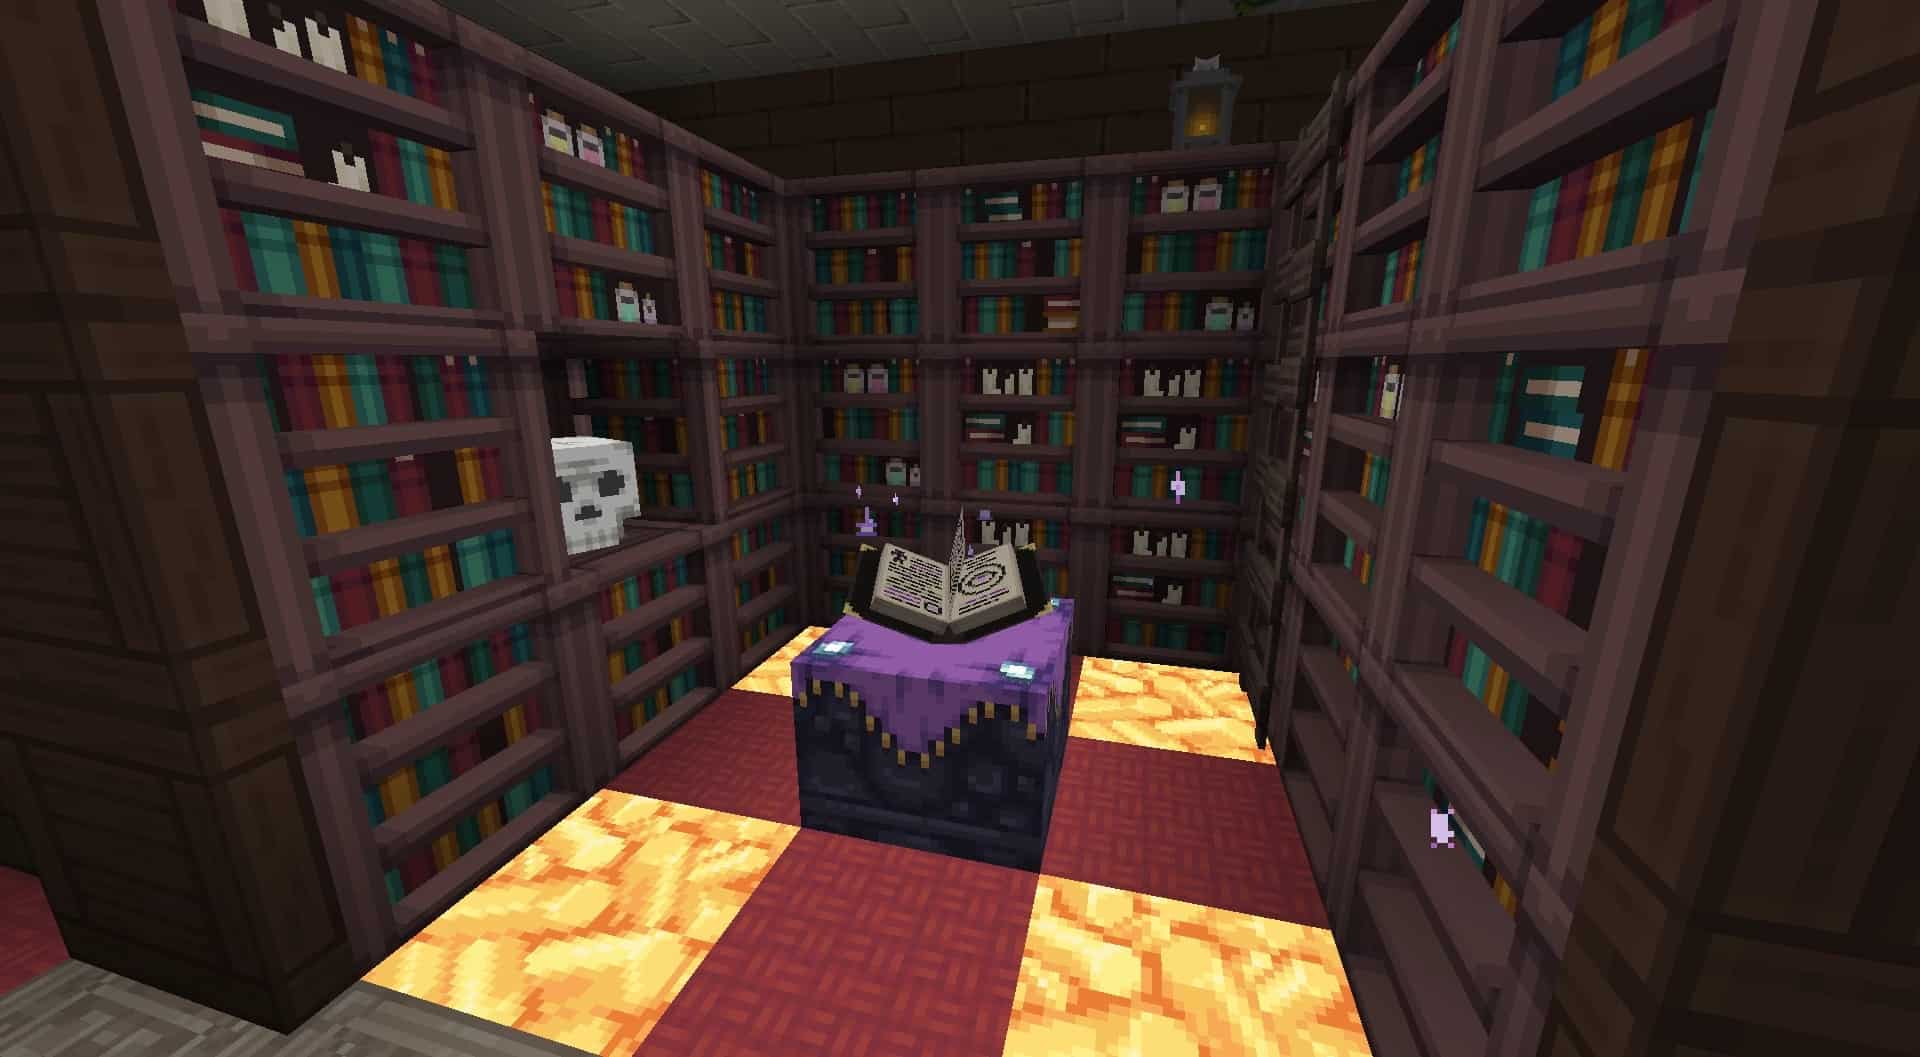
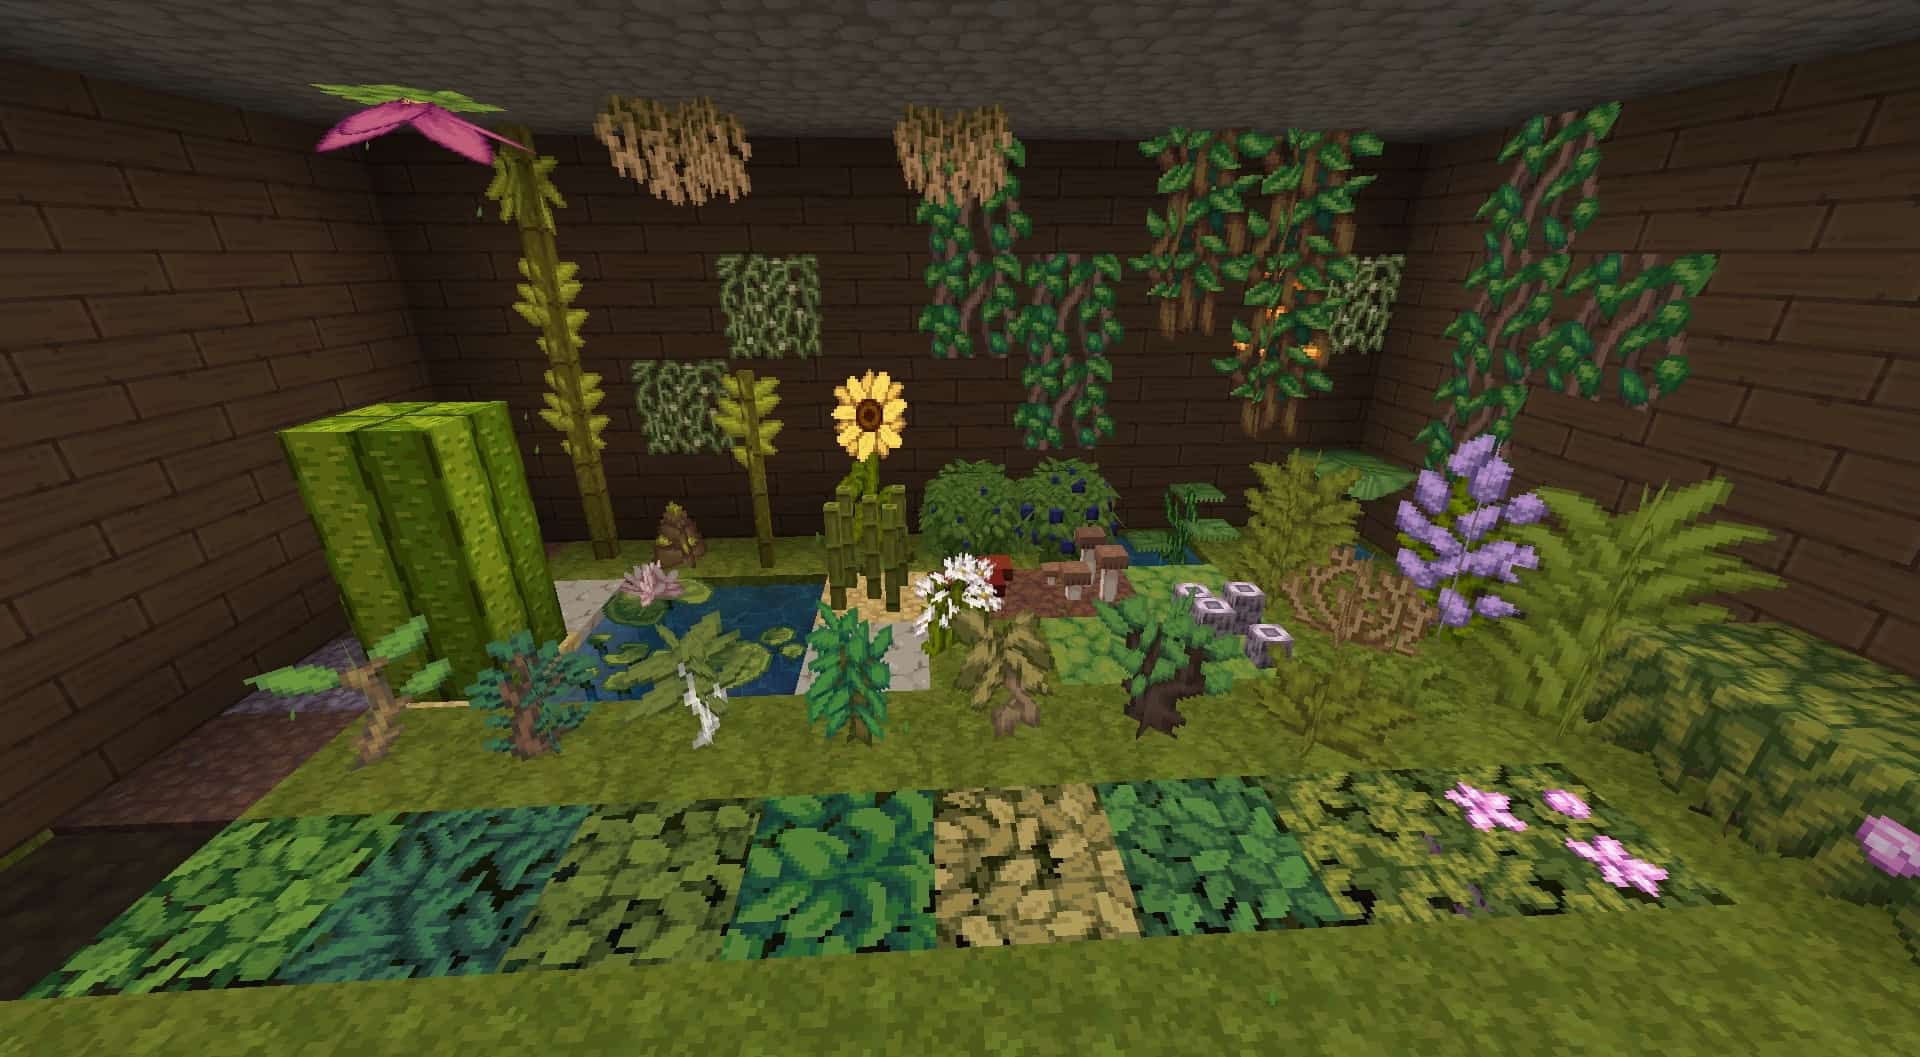
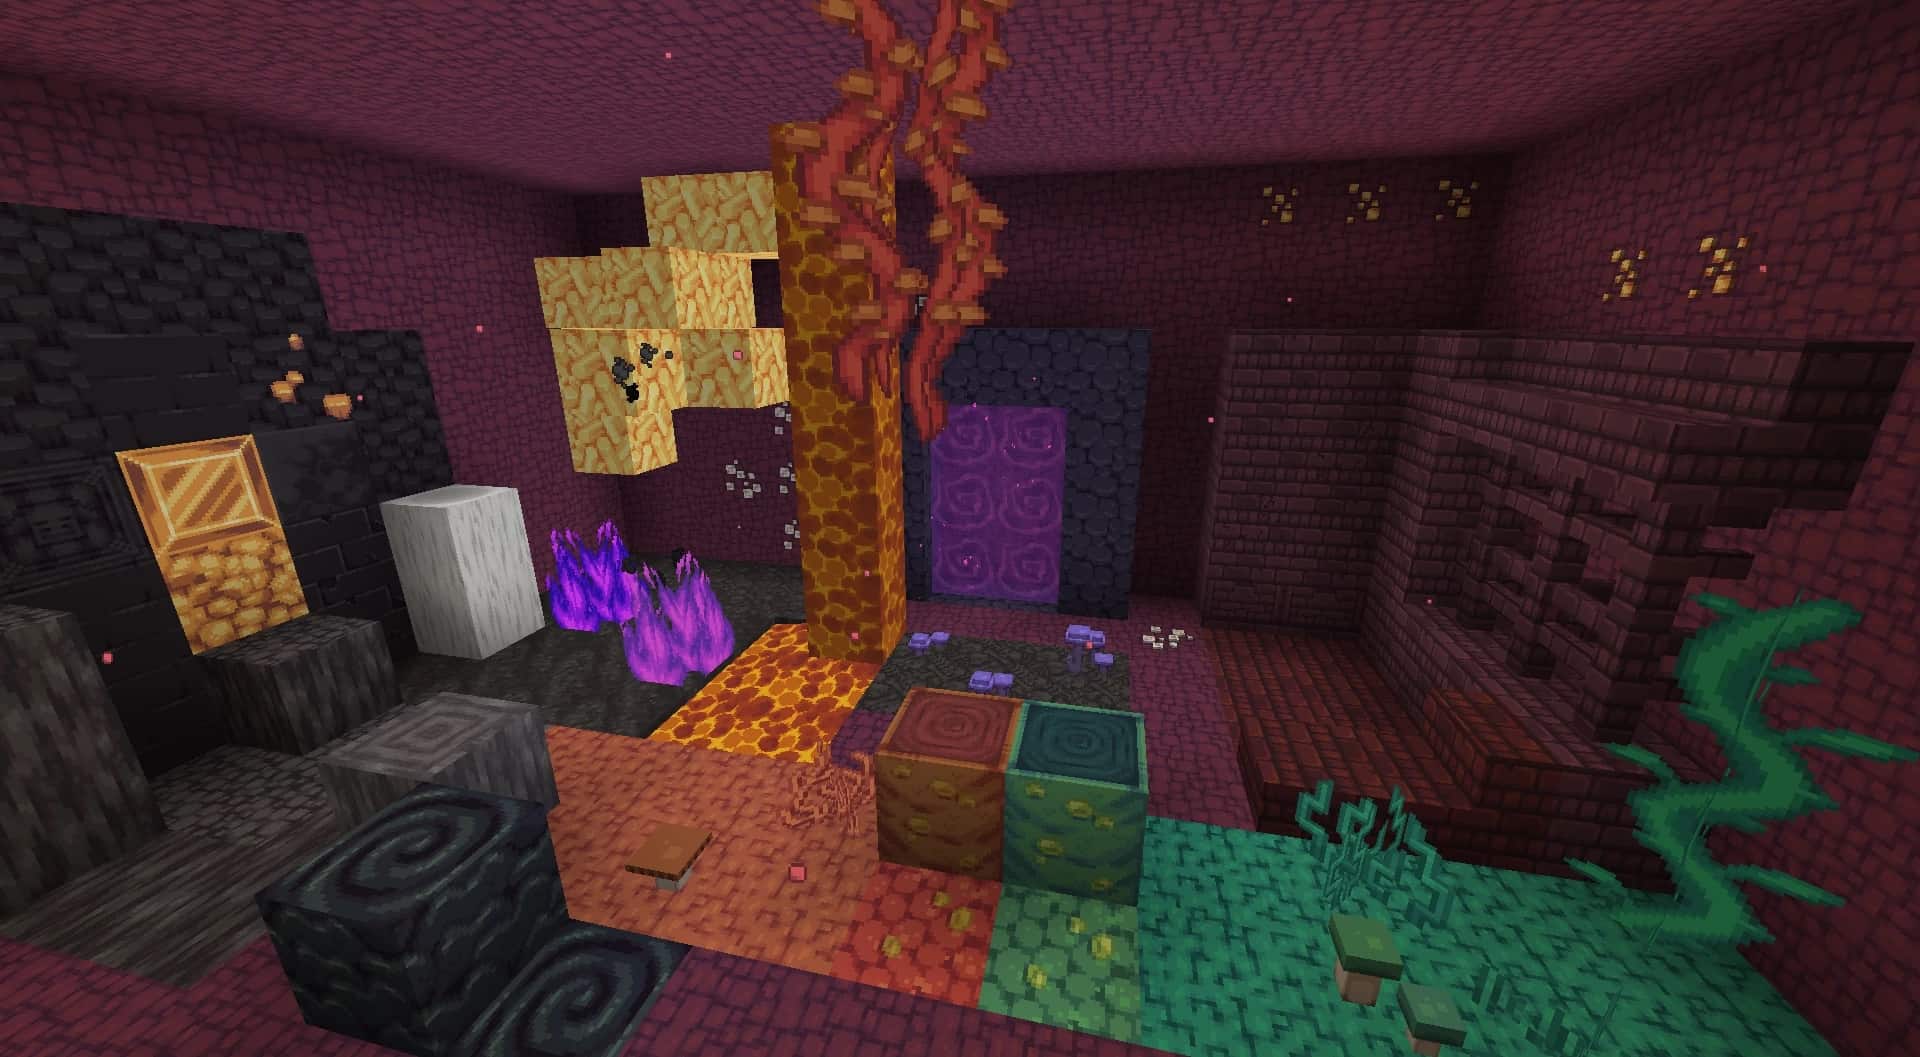
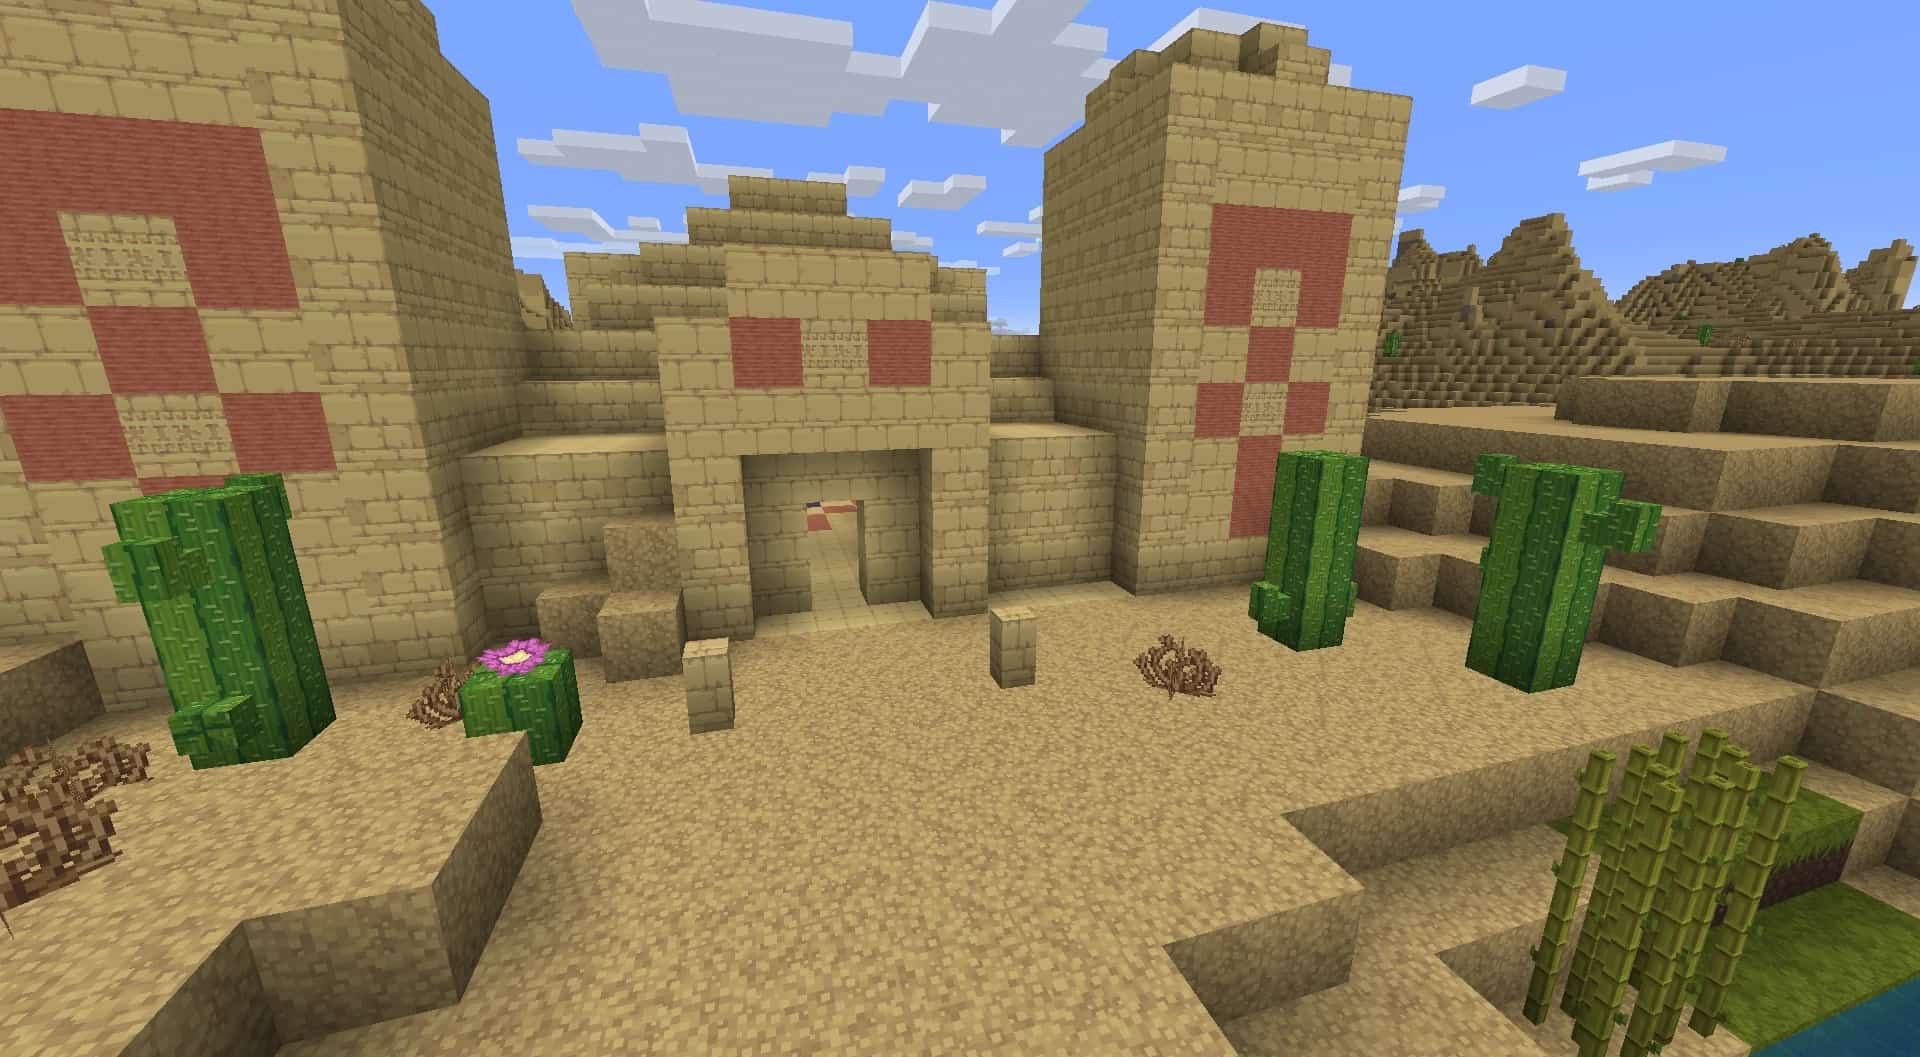
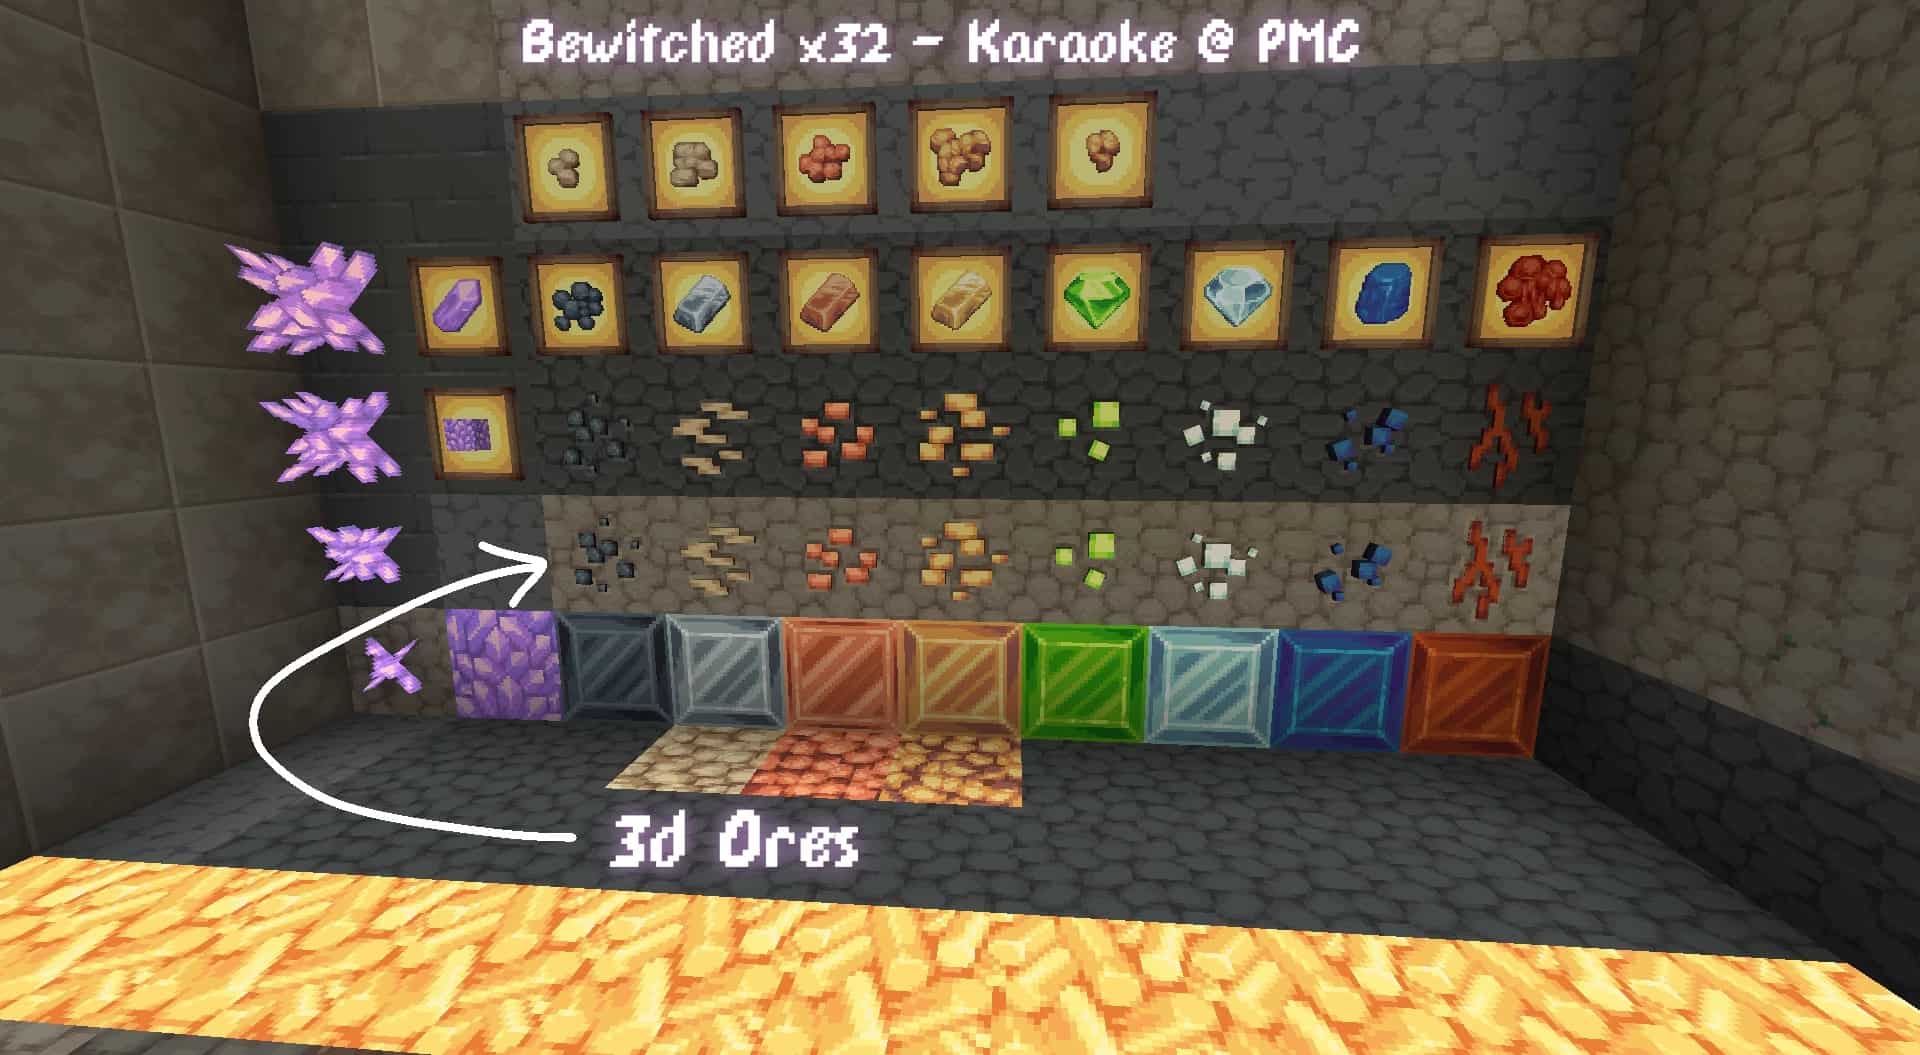
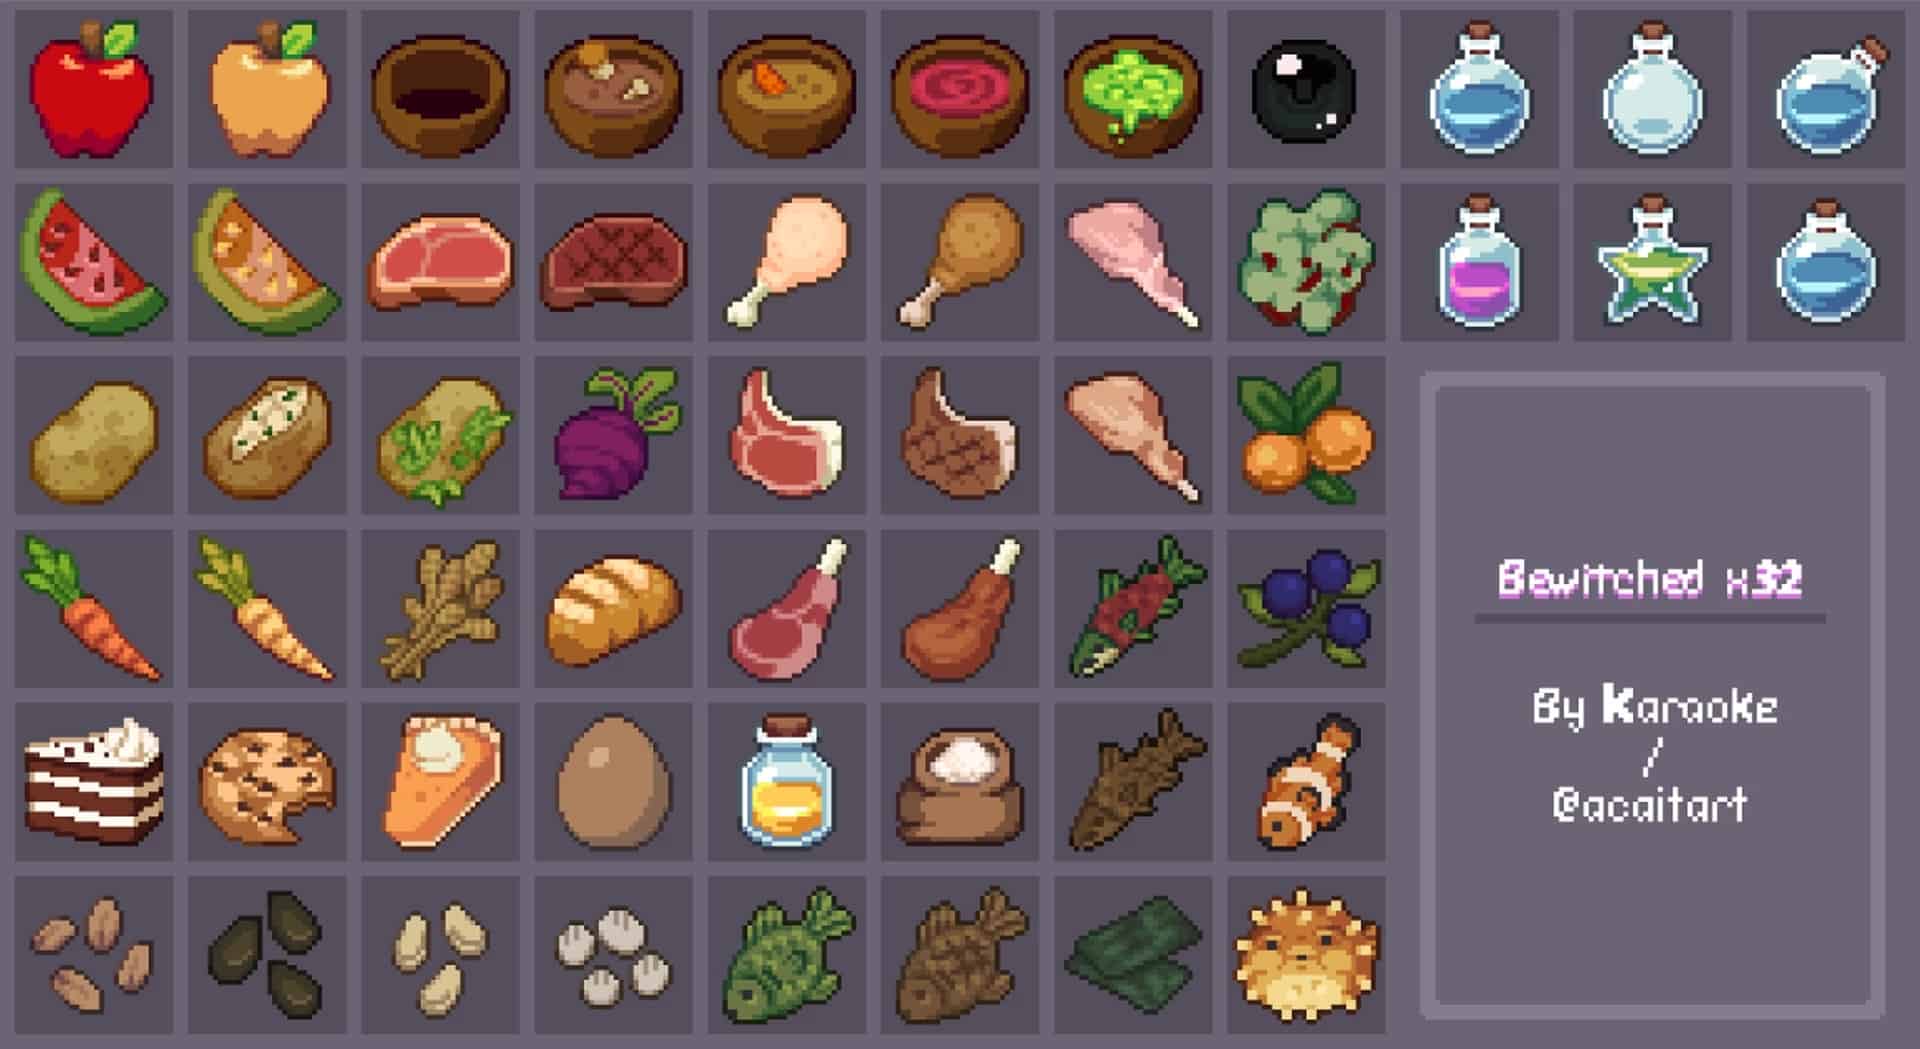
The Bewitched resource pack is an incredible recent release that I completely fell in love with for its brilliant attempt to combine cartoonish and creepy elements into a cohesive, gorgeous package. As Minecraft continues to age, it often feels like all of the new resource packs simply stick to an already established standard without bringing any real innovation to the table. Most packs just enhance existing textures without implementing exciting modifications that truly motivate players to dive in and experience the game anew. Thankfully, Bewitched is finally here to completely break that mold and introduce something genuinely fresh! One of the biggest flaws I usually find with texture packs that try innovative features is that they strip away the classic charm that makes Minecraft what it is. However, even though Bewitched deeply modifies most of the game’s visuals, you are still greeted warmly by the recognizable, beloved pixelated look of the Minecraft world we all know and love. The main theme of this pack strikes an amazing balance, offering a fun mix of Halloween and comic-like styles with just a tiny touch of gothic components. One of the absolute standout changes for me is the introduction of 3D ores, which simply aren’t present in the vanilla game. These textures have incredible depth, meaning that if you look at the ores from the side, you can actually see the minerals physically sticking out of the stone foundation! While this might sound like a small detail, trust me, it amplifies the mining experience by a massive margin and gives underground caves a wonderfully unique and immersive look. Plus, the ore density in the block actually varies depending on the specific type of mineral. As far as the overall color palette goes, I was pleasantly surprised to find it lively and fairly bright, especially considering its spooky and cartoonish focus. It beautifully combines greyish hues with striking blood red, dark yellow, and lovely purplish tones. If you have ever played classic RPG games, you will instantly notice a wonderful familiarity in the colors and atmosphere. Even better, this style is never overdone, meaning you won’t ever have to worry about sacrificing the cozy ambiance that vanilla Minecraft naturally provides. Another major indicator of the sheer effort and love that went into crafting this pack is the stunning artwork found on the paintings. There are over a dozen different designs varying in height and width, and they are infinitely more unique and attractive than the original game’s bland paintings.
True to the developer’s description, I found them wonderfully spooky yet undeniably cute. The prevailing theme leans heavily into nighttime scenes and gorgeous sunsets, alongside a lovely selection of plants and animals. These custom paintings blend together seamlessly with the overall gothic twist that the Bewitched resource pack delivers. Moving on, the mobs have also received a fantastic share of enhancements, and as you can probably guess, they look a whole lot scarier than before! Even the iconic creepers look genuinely intimidating now, thanks to a phenomenal and complete visual overhaul. The only minor aspect that felt slightly lacking during my playthrough is the Nether. Due to the specific shade of red utilized by the pack, the Nether looks a bit pale and noticeably less vibrant compared to the other dimensions. Of course, aesthetic appeal is entirely subjective, so you might actually find this moodier Nether much more appealing than the original! While the pack doesn’t strictly require any other technical additions to function, the developer genuinely recommends running Optifine alongside it, as some textures might not load properly without it, and it helps tremendously with performance optimization. The pack is exclusively designed in a 32×32 resolution, which is double the standard resolution of original Minecraft textures. While this shouldn’t be overly demanding for most systems, lower-end PCs might occasionally struggle to render every single element smoothly without minor FPS drops. Another potential hiccup for older hardware setups is the game occasionally crashing, which stems from the custom fonts interfering with certain graphics card drivers and causing display issues. If you ever run into this, a simple workaround is to delete the ‘font’ folder, allowing the game to load perfectly while disabling the custom font pack text. Additionally, the Bewitched texture pack boasts great compatibility with various shaders, though shader mods can occasionally interact with the font files and create unwanted black text boxes. If that ever happens to you, simply swap out the shaders or remove the ‘font’ folder as mentioned before. All of these minor potential issues might sound a bit overwhelming at first, but it is extremely important to keep in mind that the pack is still actively being developed as a work in progress! It sits comfortably around 70% complete at the moment, so please remain patient if you encounter any bugs, and be sure to reach out and notify the dedicated developer to help them polish this masterpiece.
Bewitched should be compatible with all of these Minecraft versions: 1.21.3 – 1.21.2 – 1.21.1 – 1.21 – 1.20.6 – 1.20.5 – 1.20.4 – 1.20.3 – 1.20.2 – 1.20.1 – 1.20 – 1.19.4 – 1.19.3 – 1.19.2 – 1.19.1 – 1.19 – 1.18.2 – 1.18.1 – 1.18 – 1.17.1 – 1.17
Screenshots
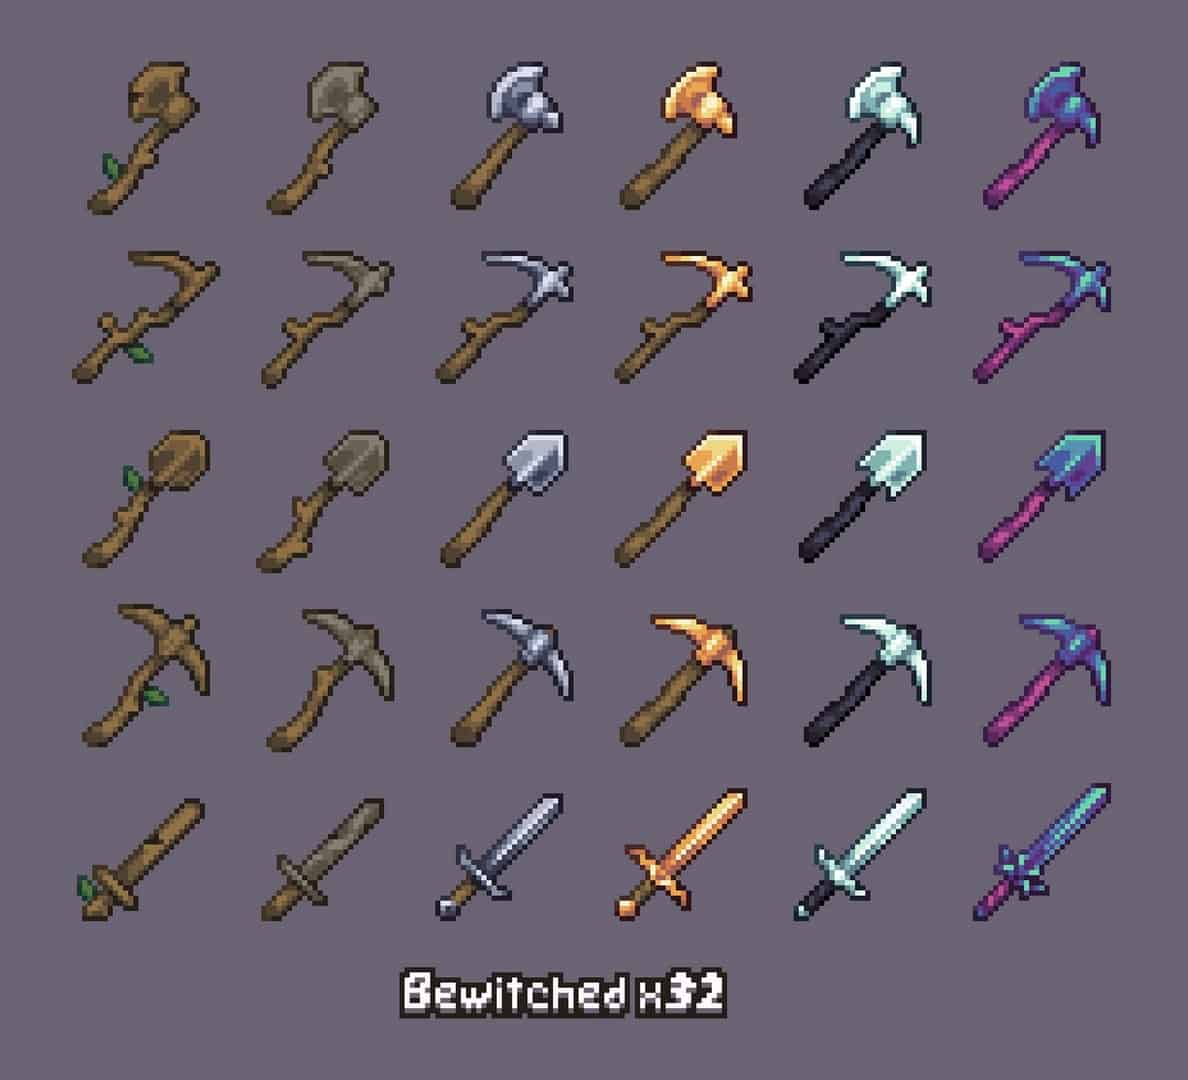
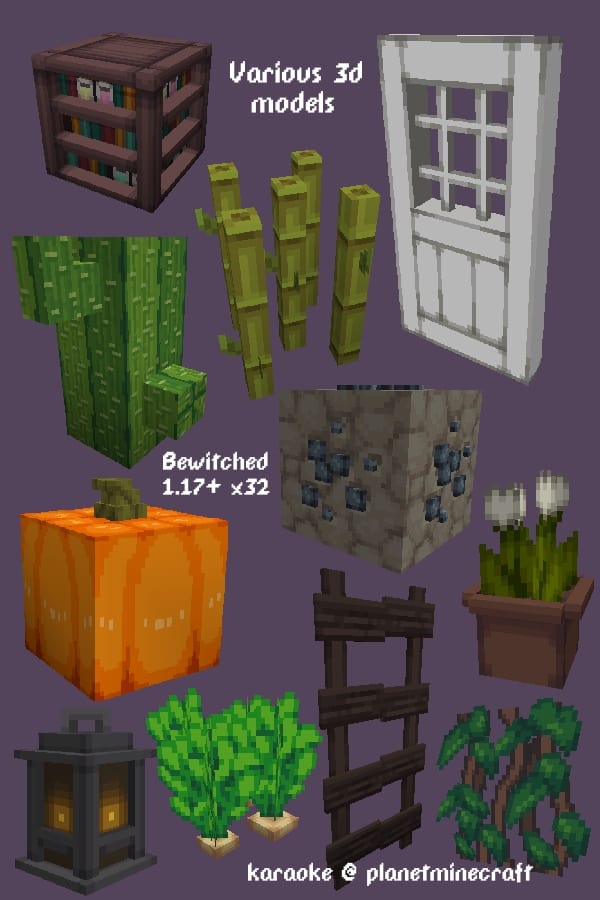
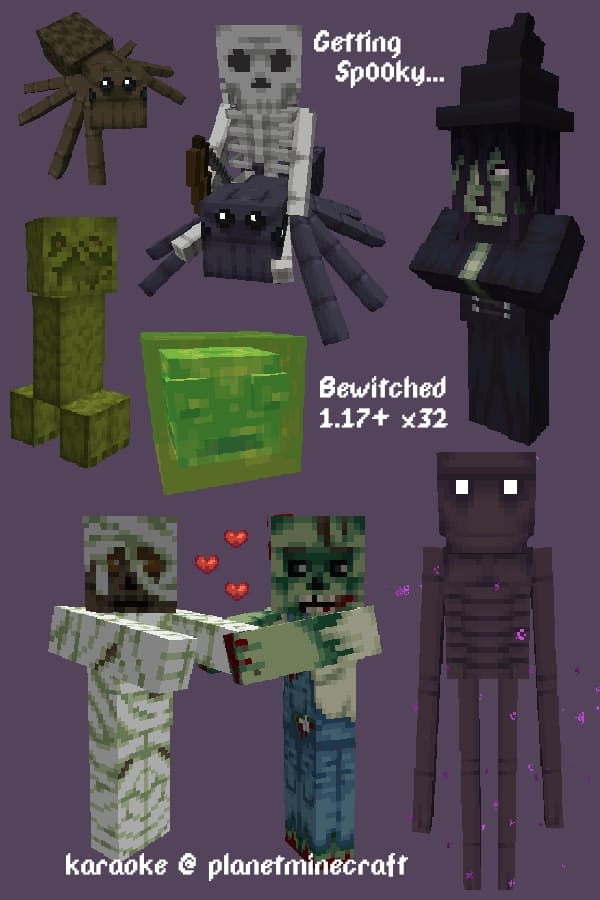
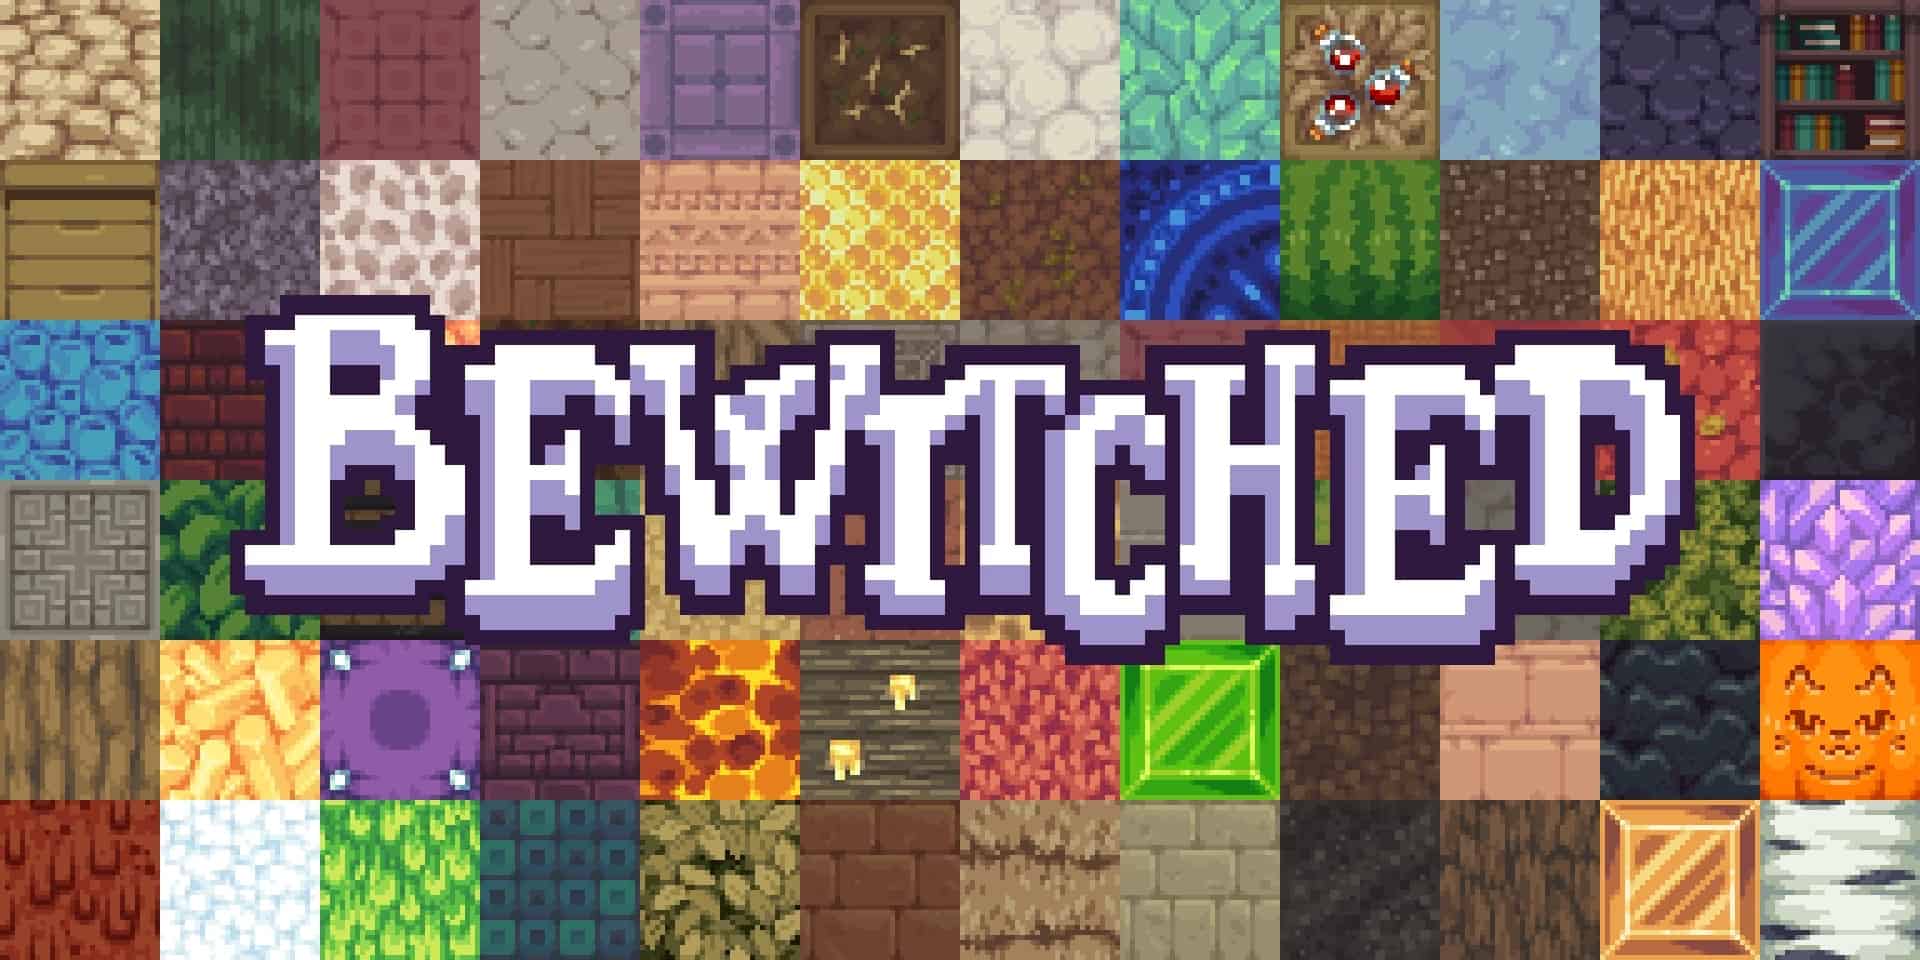
How to Install Texture Pack (Simple 10 Steps)
- Download OptiFine: Most of the texture packs and shaders need OptiFine. That’s why, first download and install OptiFine for the version of Minecraft you want to play.
- Download the Texture Pack: Get the texture pack you want from the download section. Choose the version that works with your Minecraft and your PC’s performance.
- Open Minecraft Launcher: Start Minecraft using the official game launcher — or even TLauncher, if you use that.
- Go to Options: From the main menu, click on the “Options” button.
- Open Resource Packs: Inside Options, click on “Resource Packs…”.
- Open the Resource Pack Folder: Click on “Open Resource Pack Folder” — this will open a folder named “resourcepacks”.
- Move the Pack File: Copy or move the .zip file you downloaded into that “resourcepacks” folder. (Don’t unzip the file — Minecraft uses it as-is!)
- Go Back and Refresh: Close the folder and click “Done”, then go back into “Resource Packs…” again.
- Activate the Pack: You’ll see the pack on the left side. Hover over it and click the arrow to move it to the right (active side).
Tip: If you get a message that the pack is for a different version, just click “Yes” — it usually works fine. - Click Done and Enjoy: Click “Done” again. Now your pack is ready to use in-game. It’s that easy!
Credits
Created by Karaoke. We do not own or modify the files provided here. All rights belong to the original creator. We strongly encourage visiting the official download links to support the author.
Download Links
Java Edition
Download Instructions
Curseforge: download starts automatically after a few seconds;
Mediafire: click the big blue button with the text “DOWNLOAD”;
Google Drive: in the top right corner you will see a small download icon (down arrow), click it and the download should start;