 Minecraft Texture Packs Minecraft Resource Packs
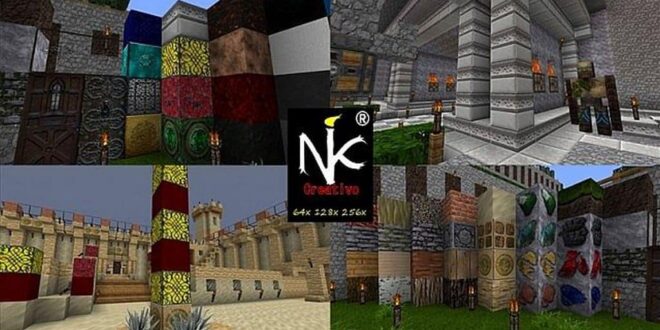
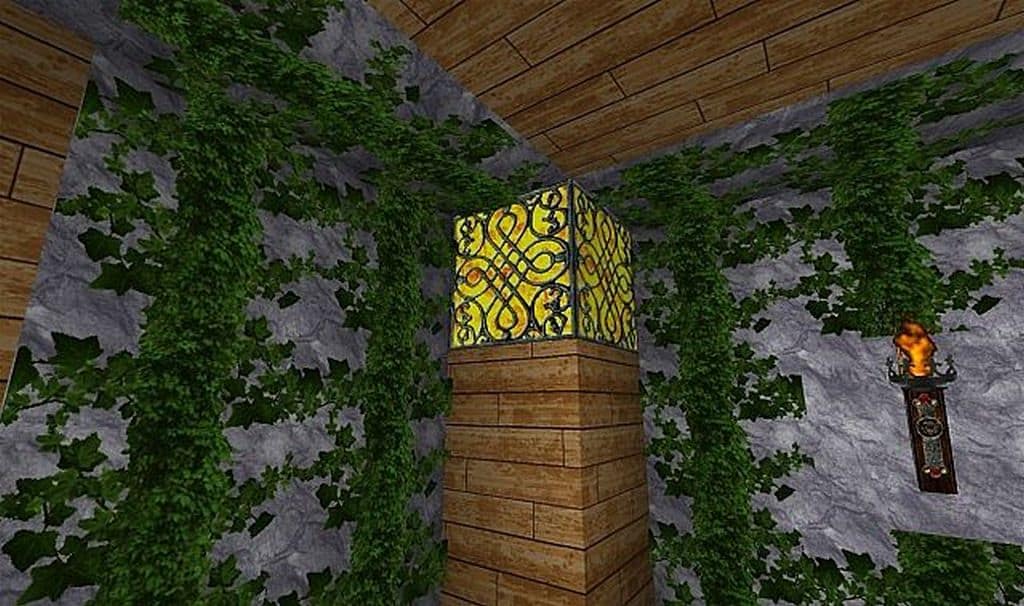
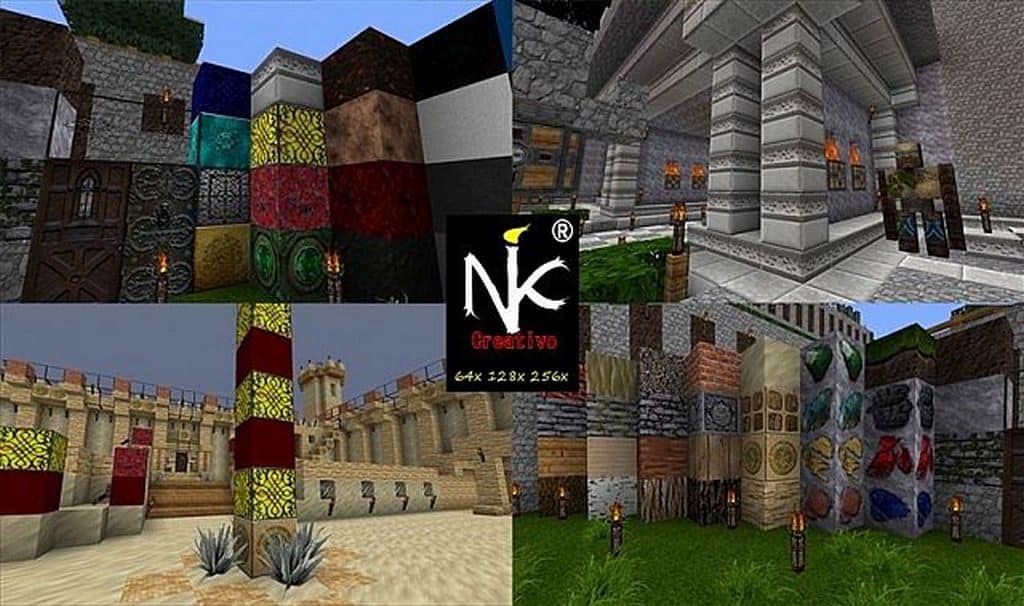
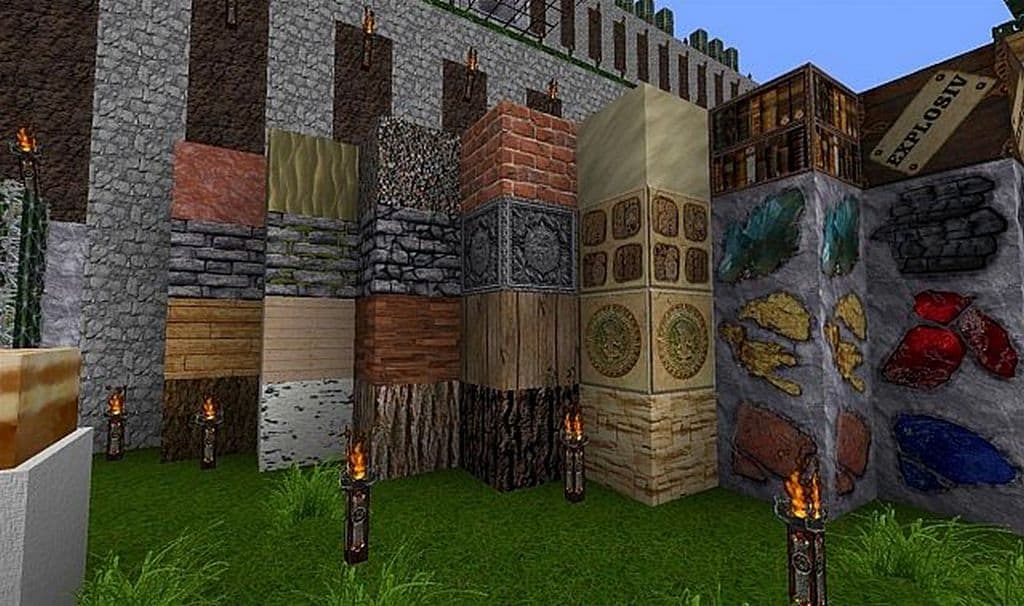
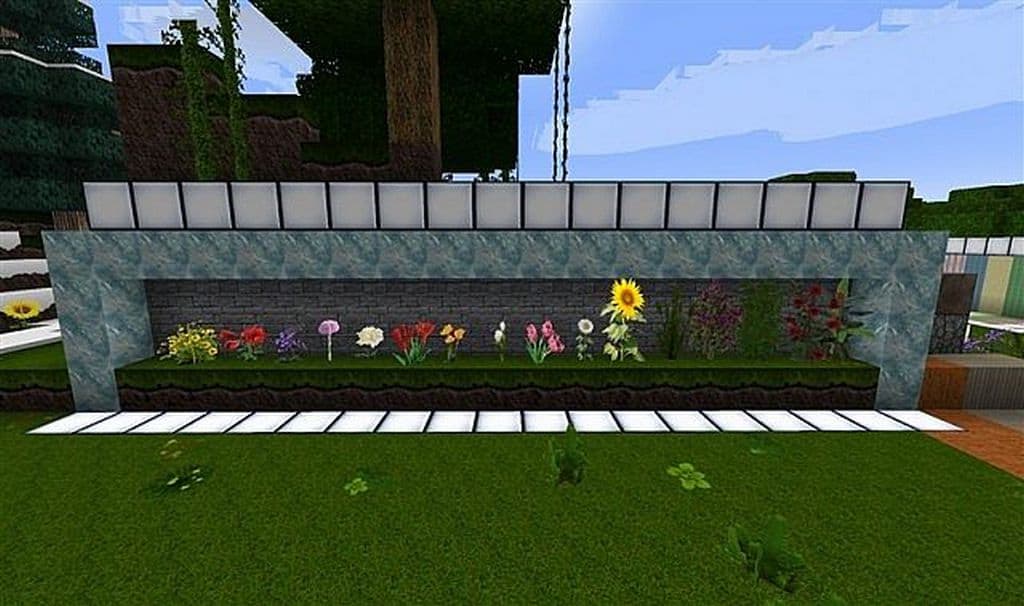
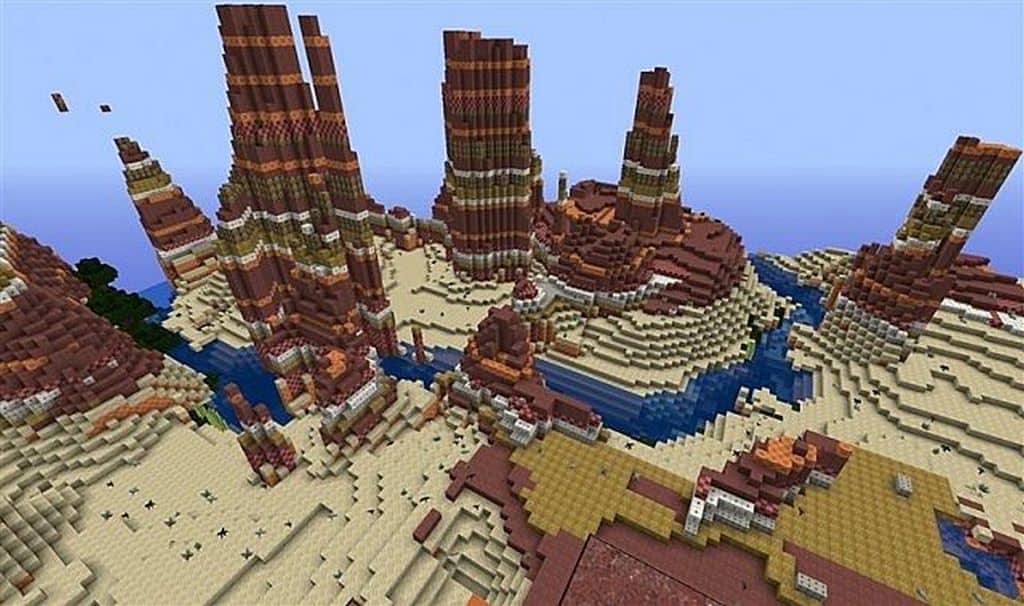
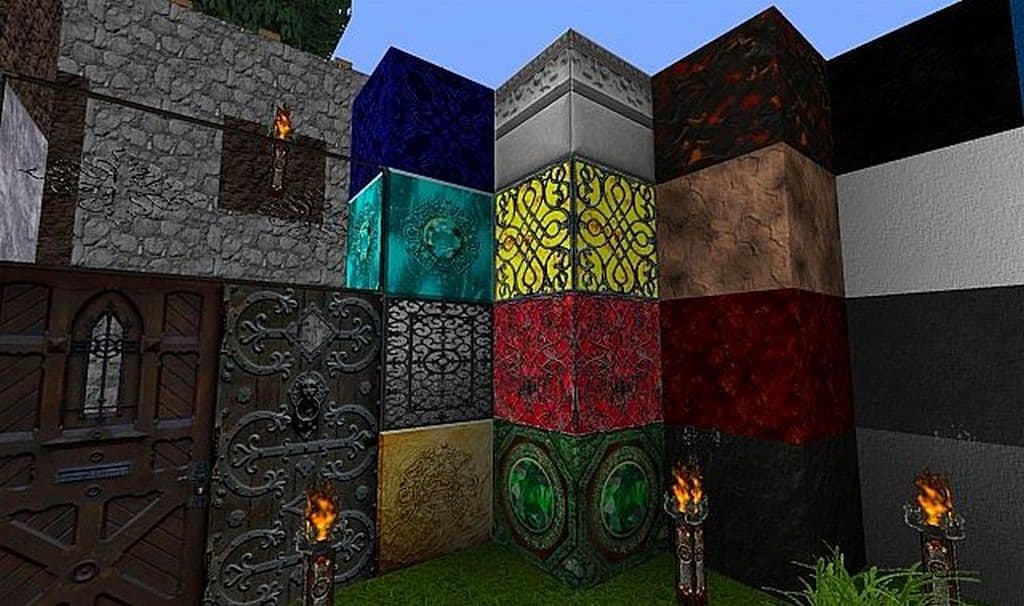
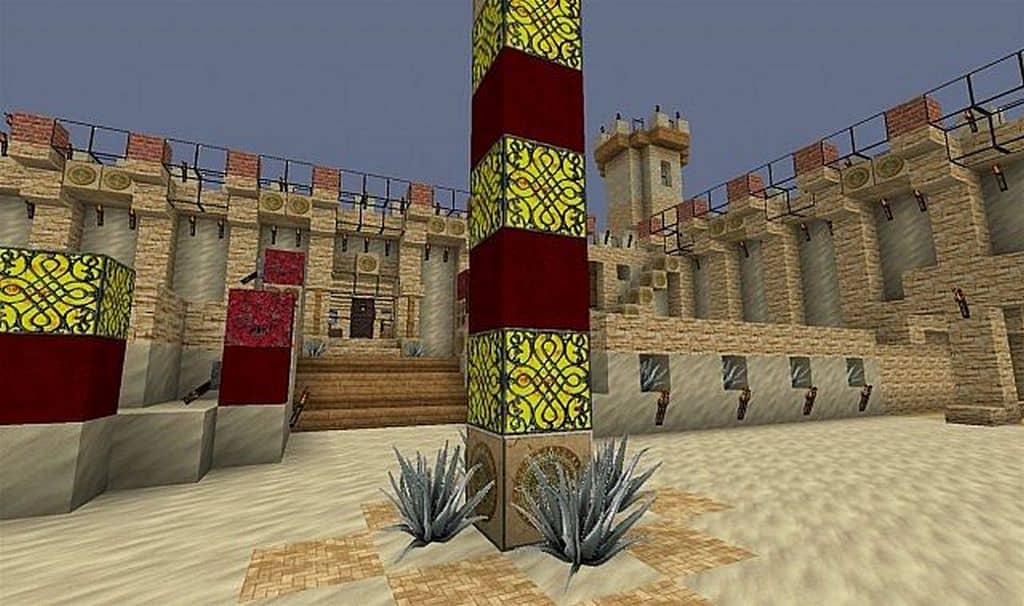
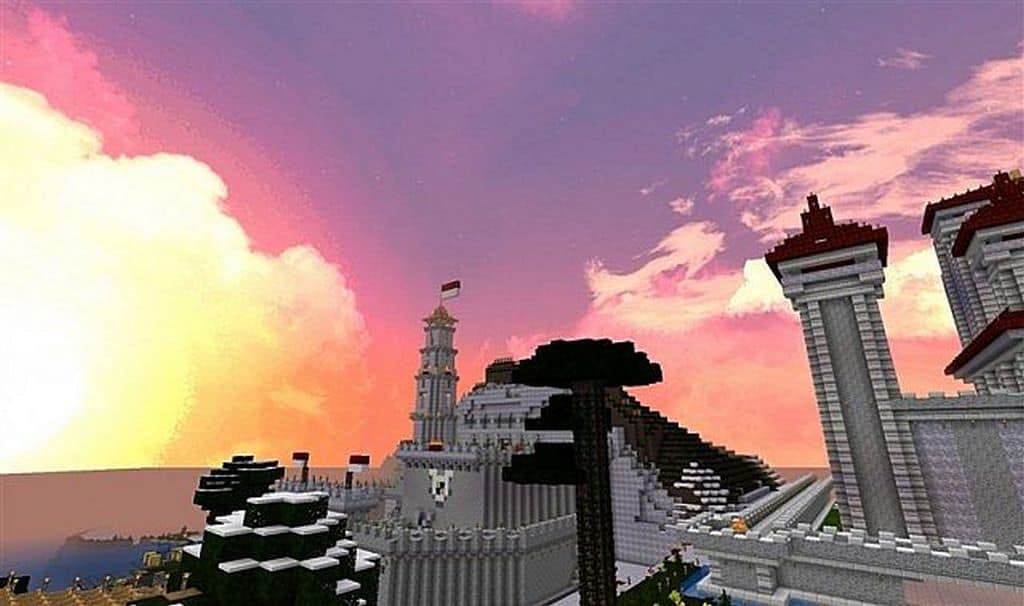
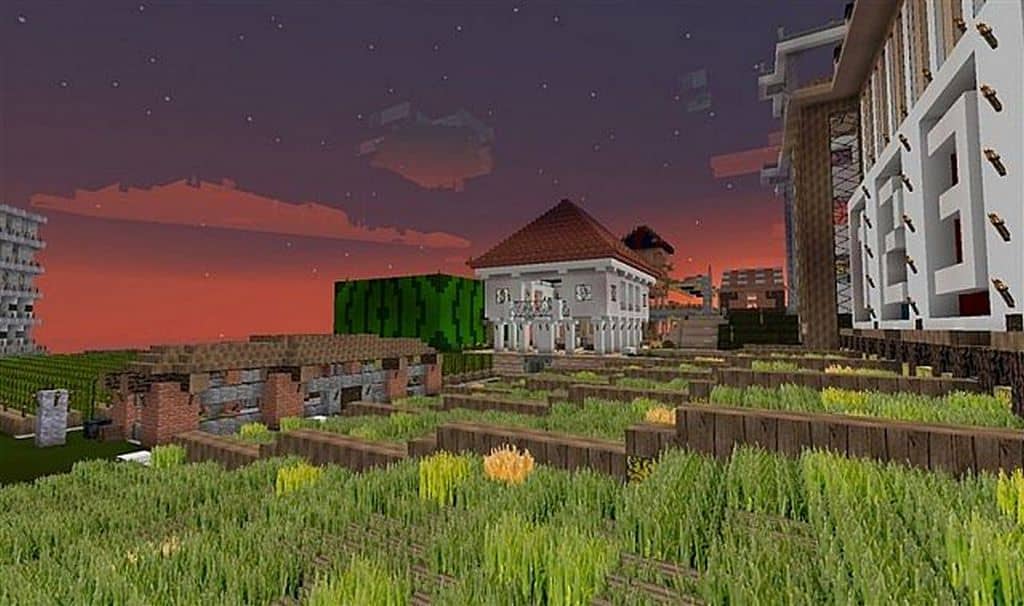
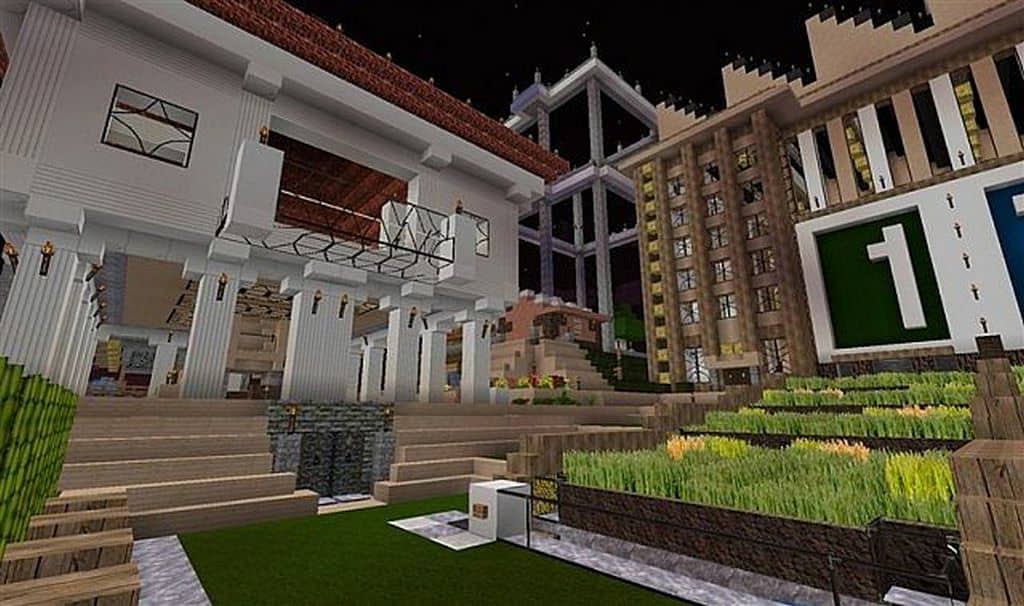
The KoP Photo Realism resource pack is truly one of the oldest existing packs, and I love how it is also one of the packs that were properly maintained over the years. It is not uncommon for the popularity of resource packs of Minecraft to gradually and progressively drop and finally cease to exist. The most common reason for this is because the one who developed them has lost interest in them, and sadly, that is also the case with this pack. When the revolutionary KoP Photo Realism texture pack was released, it took Minecraft’s visuals to breathtaking new levels. It made the game so much more interesting and fun to explore. Even now, it shines brightly as one of the most well-executed existing packs today. As the name implies, the objective of this pack is to create an experience in Minecraft that is as lifelike and realistic as possible, which I found totally immersive. This pack makes it possible for players to experience a livelier in-game environment presented with much brighter colors and enhanced lighting effects.
A ton of added details have been provided to the textures, but here’s a possible minuscule flaw you should watch out for: it is likely to get quite noisy from time to time as you play. However, I think this is not something surprising since this pack has been around for quite some time. Expect a few of the techniques used to be outdated and may contribute to a less than perfect in-game experience. When you talk about downloadable full-pledged and complete packs, KoP Photo Realism is definitely one of them. Your world of Minecraft will never be the same after applying the pack. It modifies most of the visual elements in the game, including the user-interface, to make the game more enjoyable. It provides a x256 resolution that gives you a highly detailed setting. But, you can only appreciate it if you have a decent computer to avoid dealing with FPS issues. Fortunately, there are 64x and 128x versions available for slower PCs, which runs smoothly.
KoP Photo Realism should be compatible with all of these Minecraft versions: 1.12.2 – 1.12 – 1.11.2 – 1.11
Screenshots

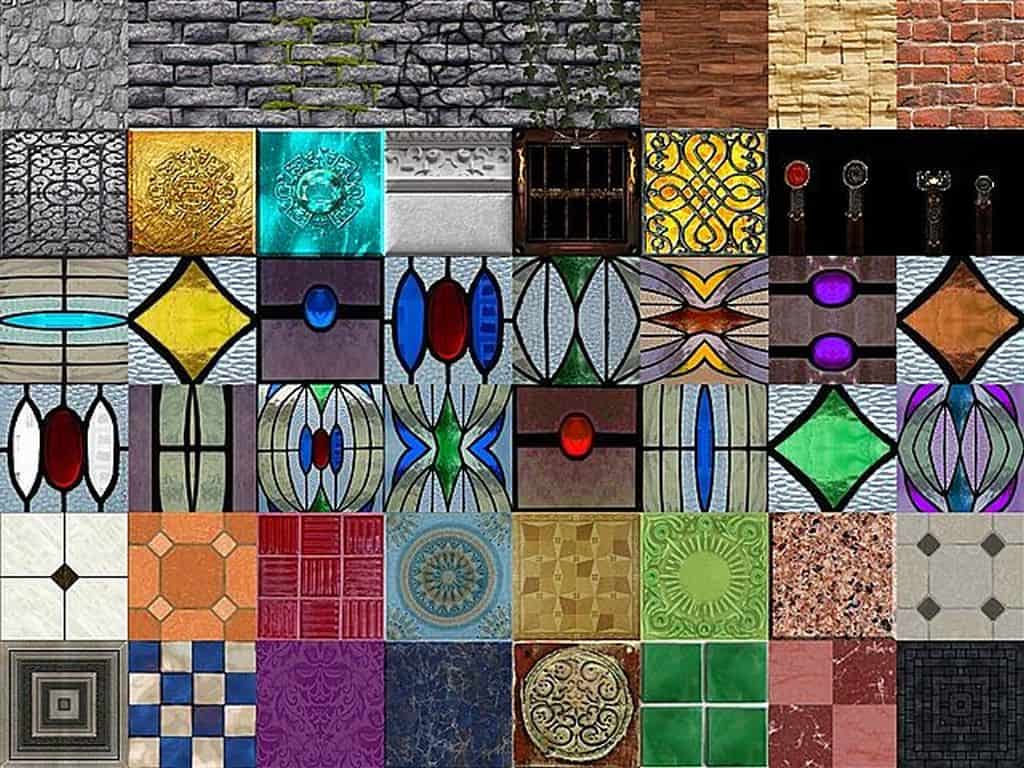

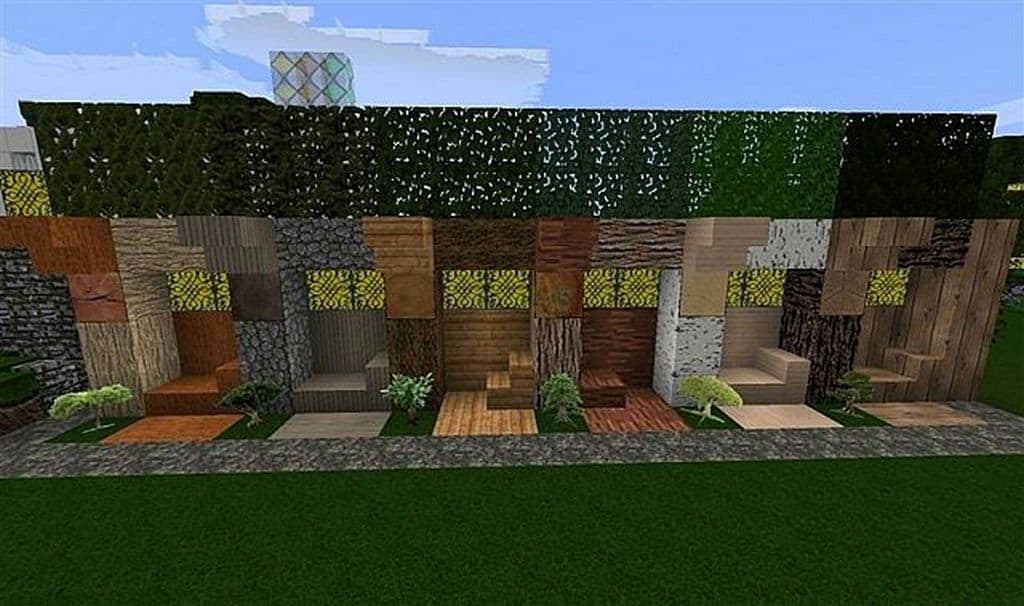
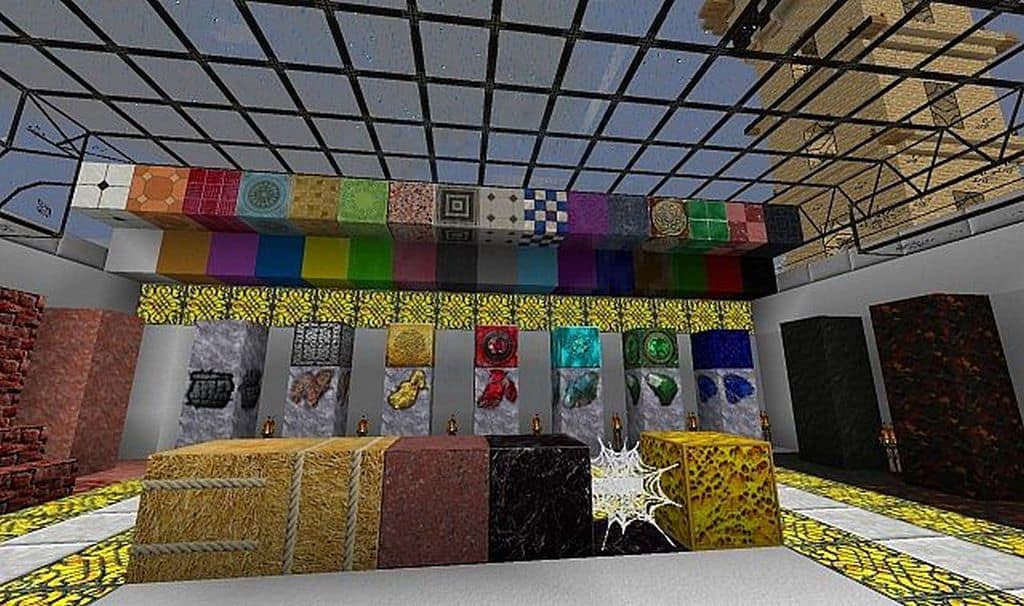
How to Install Texture Pack (Simple 10 Steps)
- Download OptiFine: Most of the texture packs and shaders need OptiFine. That’s why, first download and install OptiFine for the version of Minecraft you want to play.
- Download the Texture Pack: Get the texture pack you want from the download section. Choose the version that works with your Minecraft and your PC’s performance.
- Open Minecraft Launcher: Start Minecraft using the official game launcher — or even TLauncher, if you use that.
- Go to Options: From the main menu, click on the “Options” button.
- Open Resource Packs: Inside Options, click on “Resource Packs…”.
- Open the Resource Pack Folder: Click on “Open Resource Pack Folder” — this will open a folder named “resourcepacks”.
- Move the Pack File: Copy or move the .zip file you downloaded into that “resourcepacks” folder. (Don’t unzip the file — Minecraft uses it as-is!)
- Go Back and Refresh: Close the folder and click “Done”, then go back into “Resource Packs…” again.
- Activate the Pack: You’ll see the pack on the left side. Hover over it and click the arrow to move it to the right (active side).
Tip: If you get a message that the pack is for a different version, just click “Yes” — it usually works fine. - Click Done and Enjoy: Click “Done” again. Now your pack is ready to use in-game. It’s that easy!
Credits
This resource pack was originally created by nik99999. We do not claim ownership of this creation and do not host or modify the official files. All rights remain with the original author. We strongly encourage players to support the creator by using their official download links.
Download Links
Java Edition
Download Instructions
Curseforge: download starts automatically after a few seconds;
Mediafire: click the big blue button with the text “DOWNLOAD”;
Google Drive: in the top right corner you will see a small download icon (down arrow), click it and the download should start;