 Minecraft Texture Packs Minecraft Resource Packs
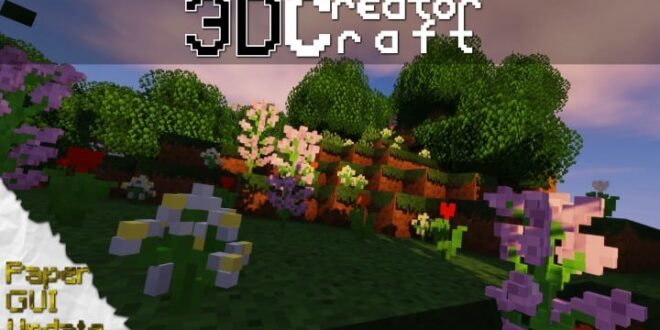
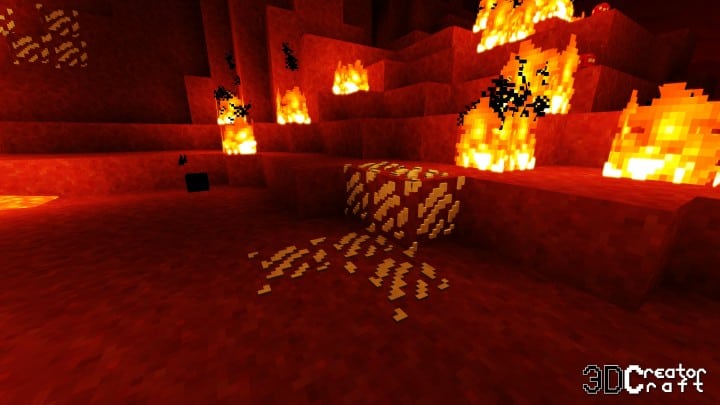
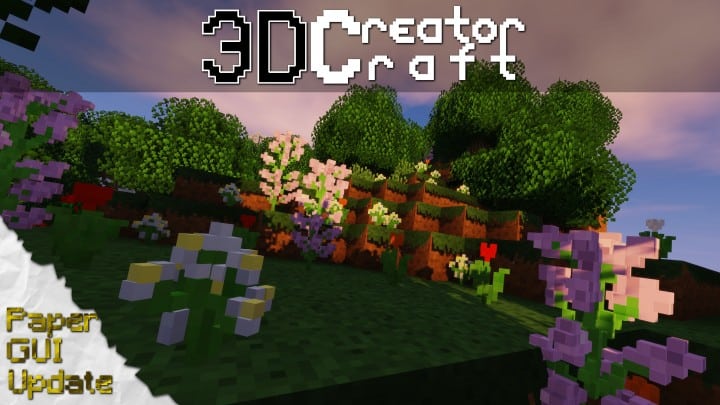
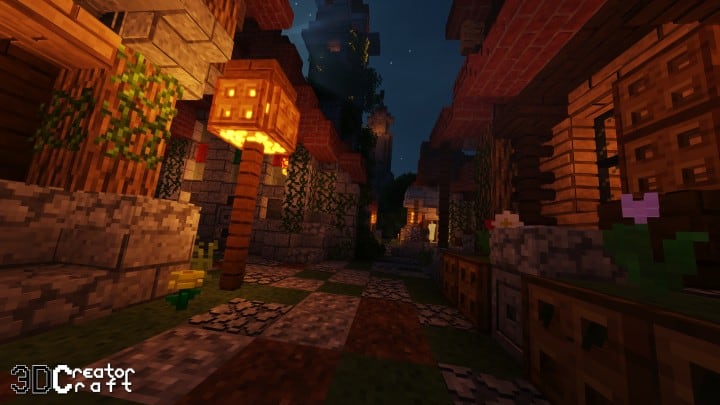
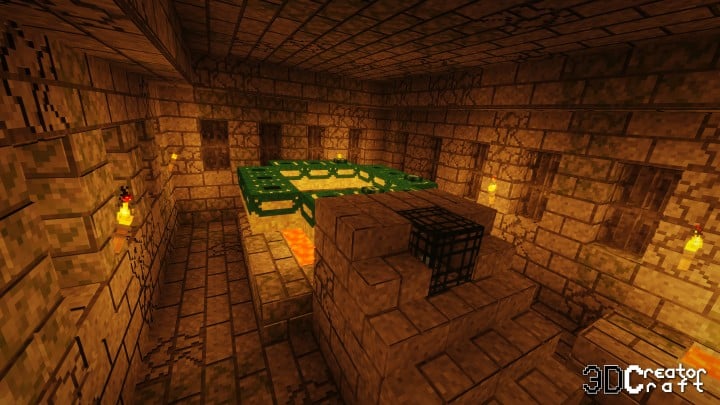
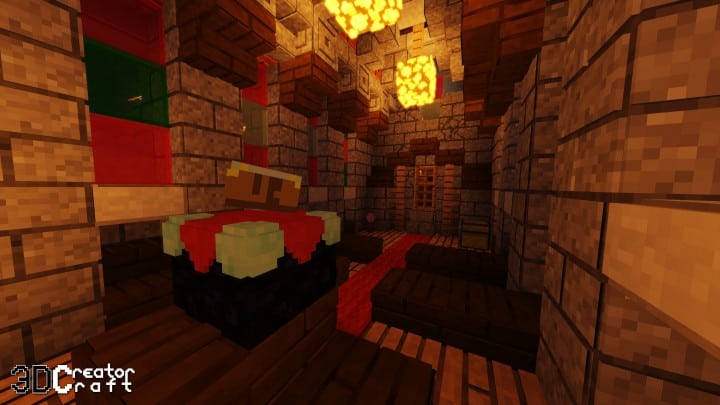
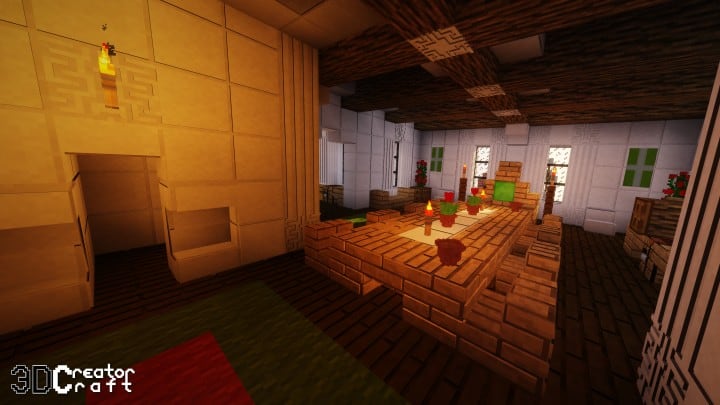
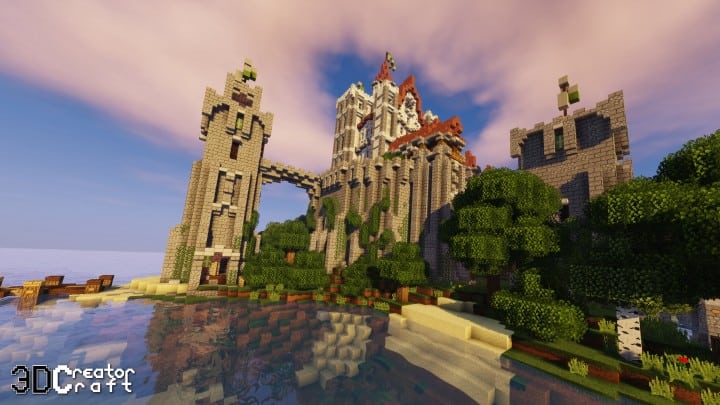
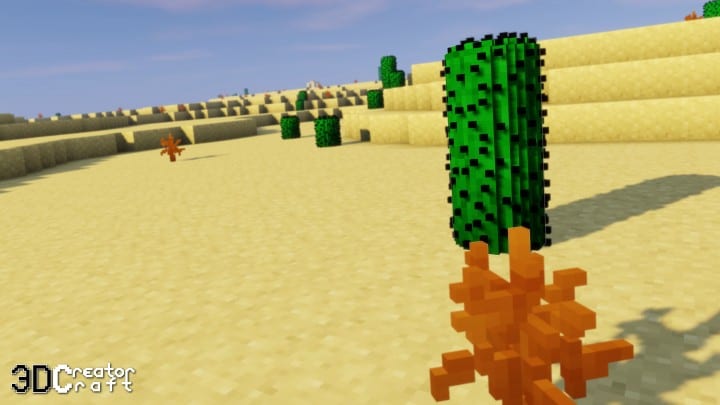
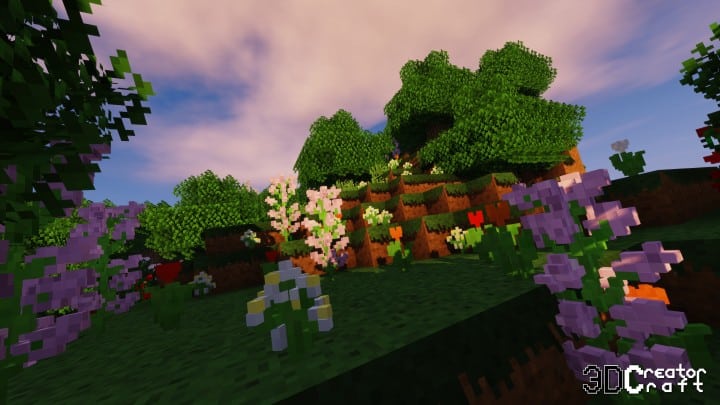
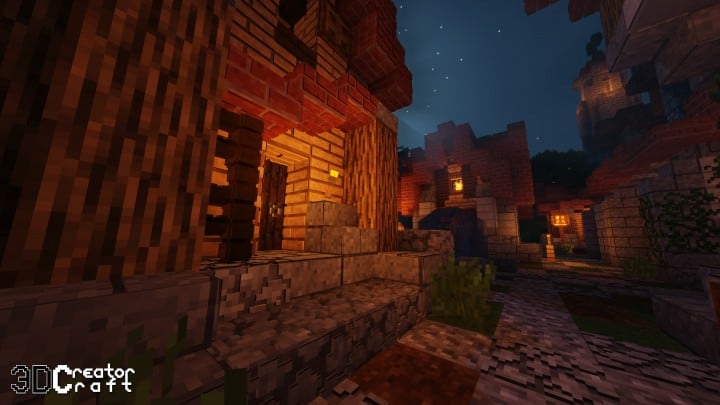
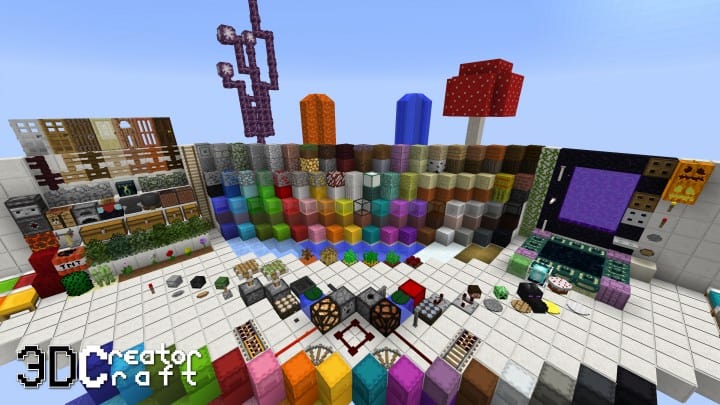
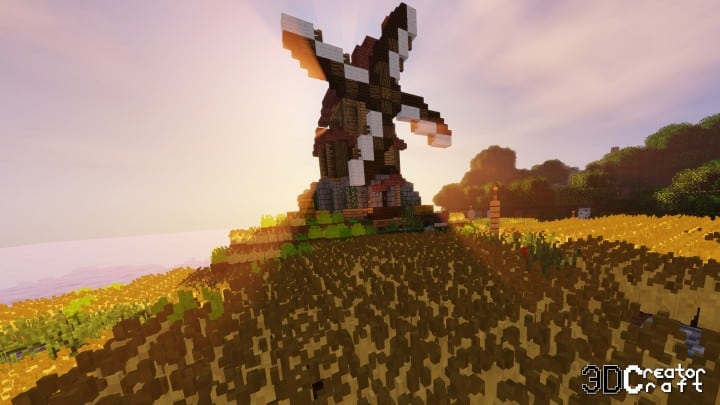
For many game lovers, Minecraft is an incredible choice to unleash their creativity by spending numerous hours placing separate blocks and collecting the required materials to achieve a masterpiece that might impress the minds of others. But if you want to explore things more interestingly, we definitely recommend updating to the 3D CreatorCraft – an advanced resource pack to significantly improve your Minecraft experience. Applied for 1.9 or above version, the 3D CreatorCraft resource pack adds various 3D addons into the game to bring everything closer to a real-life scene. You can, for instance, place many polygons on the cobblestones thanks to a special structure on the texture. In other words, this package is wonderfully able to change the 3D model of a cobblestone and add more details, which allow dirt to have a flat 3D shape.
In addition, we noticed that each element in the 3D CreatorCraft is designed with a unique 3D model. This makes the overall experience of playing Minecraft far more extensive and immense. Even though the textures for all items and blocks in the game come with a similar resolution as the main pack, which is 16×16, they look visibly much better and more definitive. Therefore, these parts will lead to a greater visualizing impact for every Minecraft lover. The major objective of the 3D CreatorCraft pack is to make a better combination of a pretty, pleasing performance with 3D details and models. But just like any other extra game pack or addon, the 3D CreatorCraft for Minecraft is still facing some performance problems such as light bugs or lags. However, these issues will be soon addressed in the upcoming versions to ensure that every gamer can always get the best experience when playing Minecraft.
3D CreatorCraft should be compatible with all of these Minecraft versions: 1.15.2 – 1.15.1 – 1.15 – 1.14.4 – 1.14.3 – 1.14.2 – 1.14 – 1.13.2 – 1.13.1 – 1.13 – 1.12.2 – 1.12
Screenshots
How to Install Texture Pack (Simple 10 Steps)
- Download OptiFine: Most of the texture packs and shaders need OptiFine. That’s why, first download and install OptiFine for the version of Minecraft you want to play.
- Download the Texture Pack: Get the texture pack you want from the download section. Choose the version that works with your Minecraft and your PC’s performance.
- Open Minecraft Launcher: Start Minecraft using the official game launcher — or even TLauncher, if you use that.
- Go to Options: From the main menu, click on the “Options” button.
- Open Resource Packs: Inside Options, click on “Resource Packs…”.
- Open the Resource Pack Folder: Click on “Open Resource Pack Folder” — this will open a folder named “resourcepacks”.
- Move the Pack File: Copy or move the .zip file you downloaded into that “resourcepacks” folder. (Don’t unzip the file — Minecraft uses it as-is!)
- Go Back and Refresh: Close the folder and click “Done”, then go back into “Resource Packs…” again.
- Activate the Pack: You’ll see the pack on the left side. Hover over it and click the arrow to move it to the right (active side).
Tip: If you get a message that the pack is for a different version, just click “Yes” — it usually works fine. - Click Done and Enjoy: Click “Done” again. Now your pack is ready to use in-game. It’s that easy!
Credits
This resource pack was created by creatorLabs. We do not claim ownership of this modification and do not host modified files on our servers. All rights belong to the original author. We strongly encourage you to support creatorLabs by downloading the pack from the official sources.
Download Links
Java Edition
- [16x] Minecraft 1.15.x
- [16x] Minecraft 1.14.x
- [16x] Minecraft 1.13.x
- [16x] Minecraft 1.12.x
- [16x] Minecraft 1.15.x
- [16x] Minecraft 1.14.x
- [16x] Minecraft 1.13.x
- [16x] Minecraft 1.12.x
- [16x] Minecraft 1.15.x
- [16x] Minecraft 1.14.x
- [16x] Minecraft 1.13.x
- [16x] Minecraft 1.15.x
- [16x] Minecraft 1.14.x
- [16x] Minecraft 1.13.x
- Official Website
- Official Source
Download Instructions
Curseforge: download starts automatically after a few seconds;
Mediafire: click the big blue button with the text “DOWNLOAD”;
Google Drive: in the top right corner you will see a small download icon (down arrow), click it and the download should start;