 Minecraft Texture Packs Minecraft Resource Packs
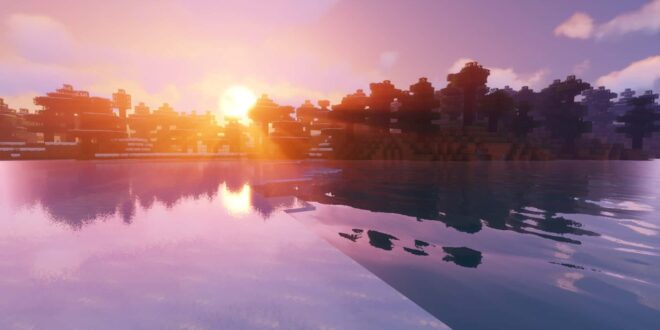
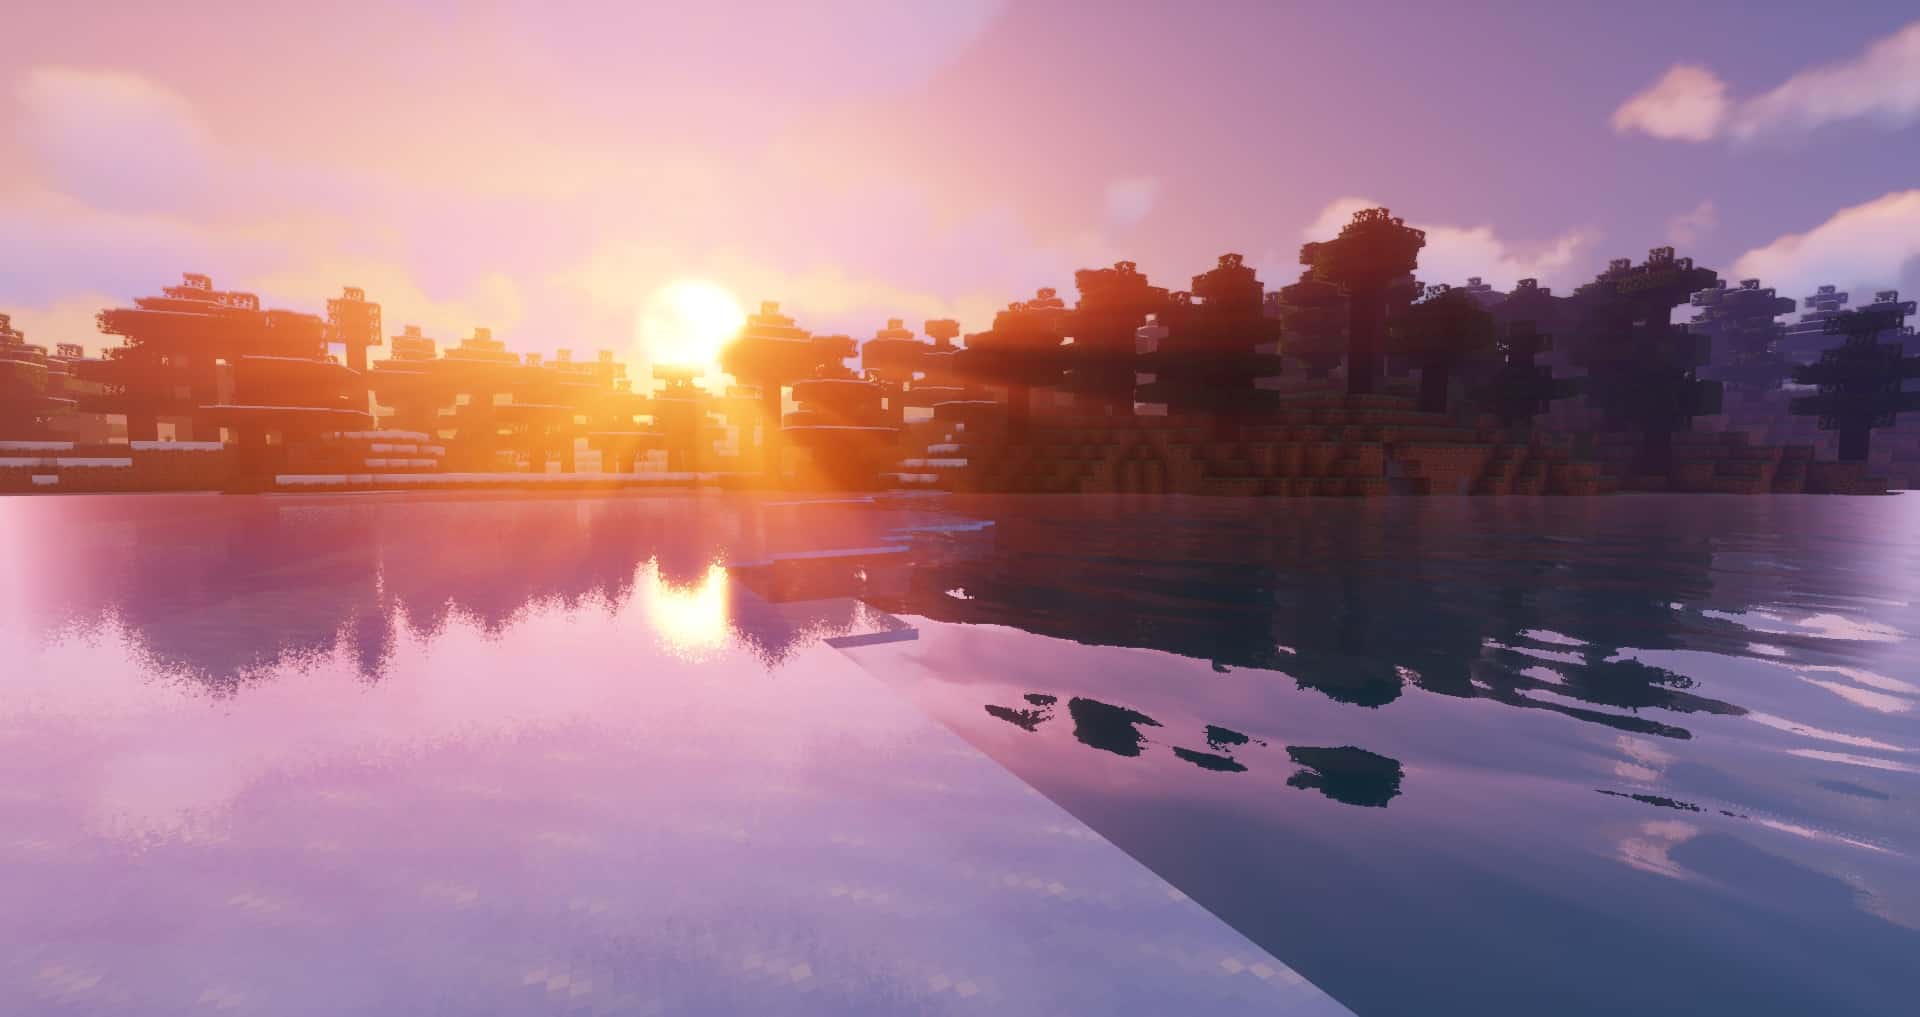
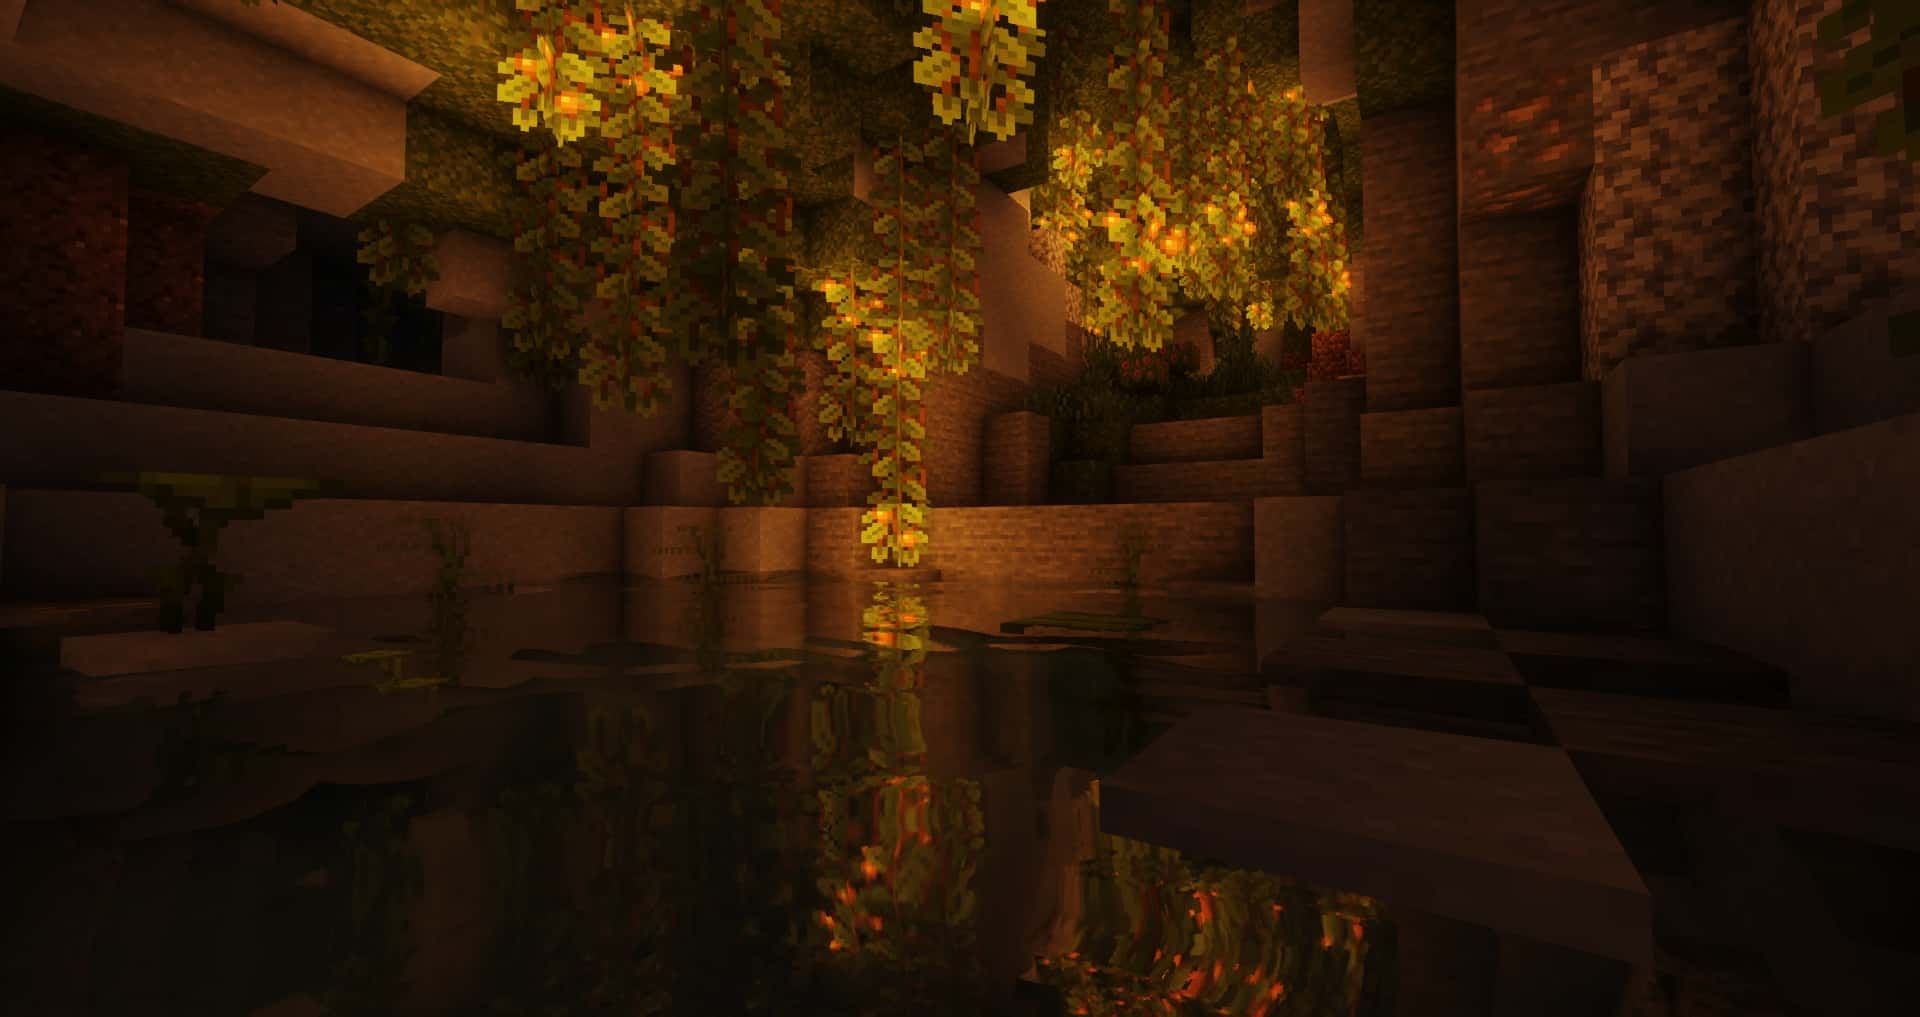
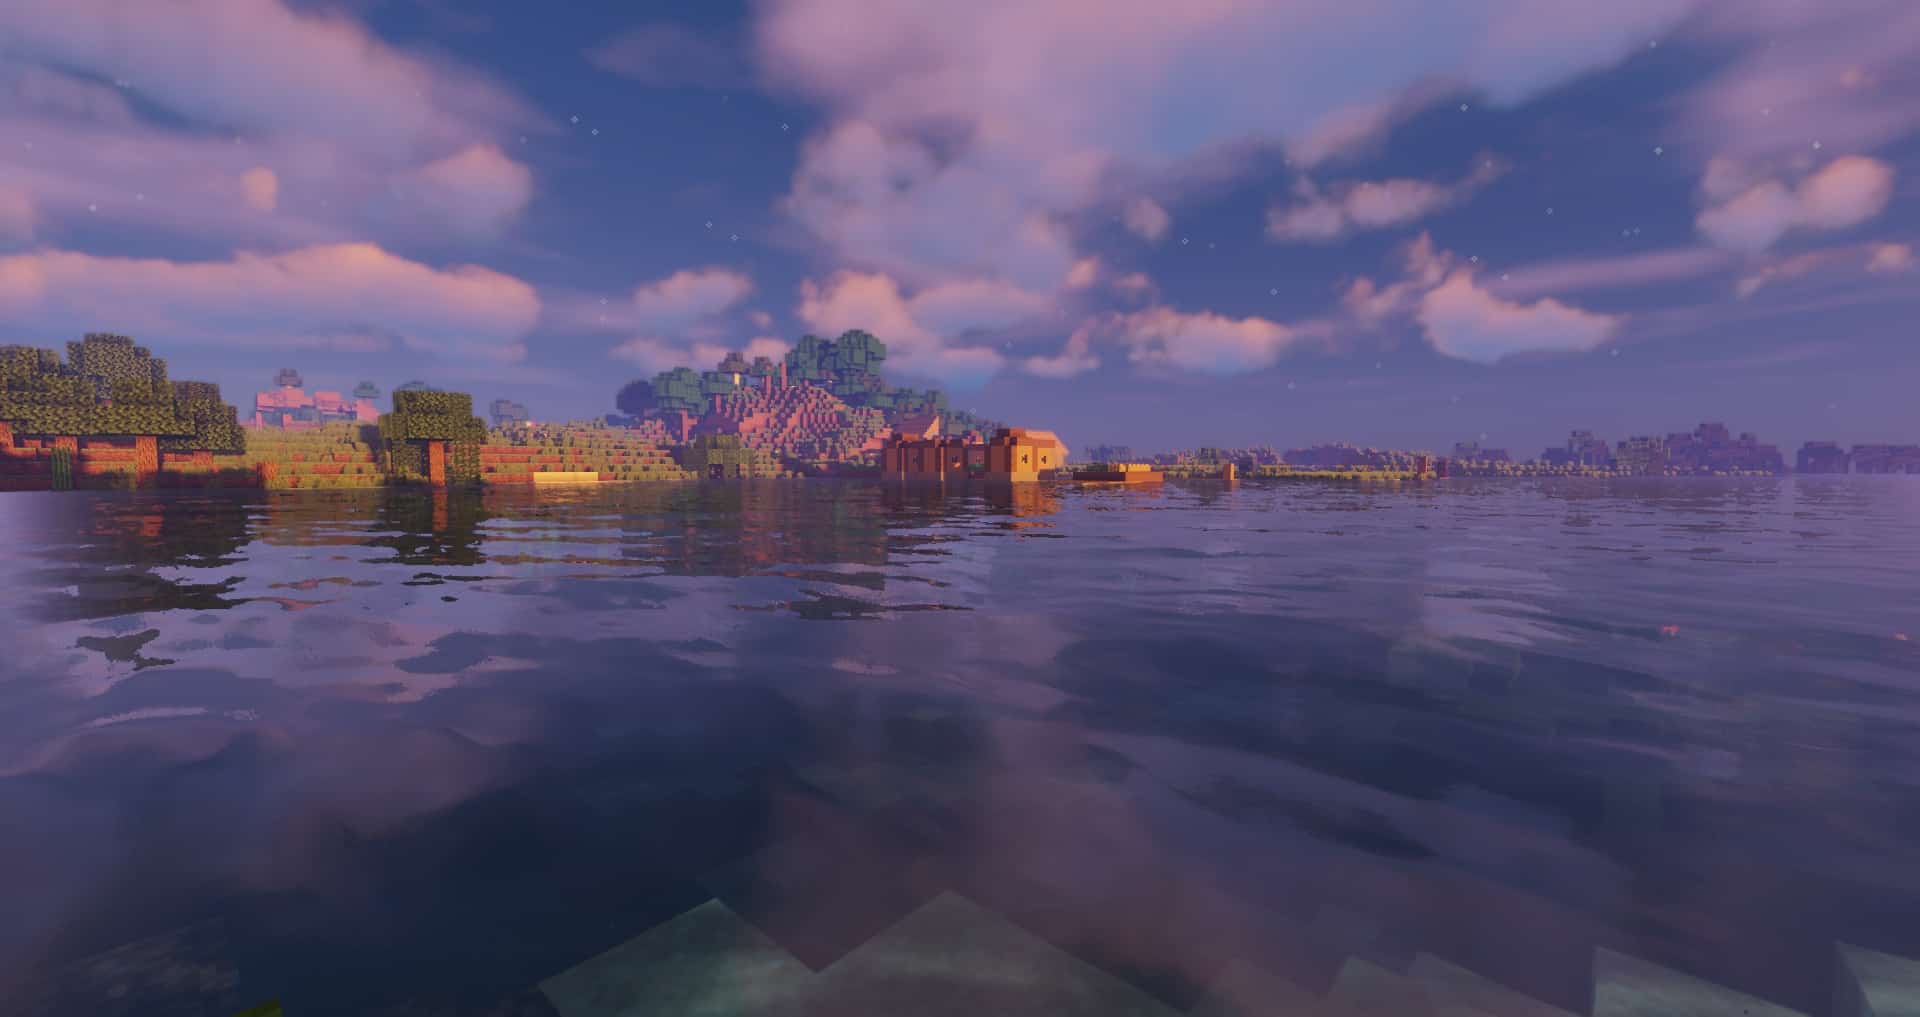
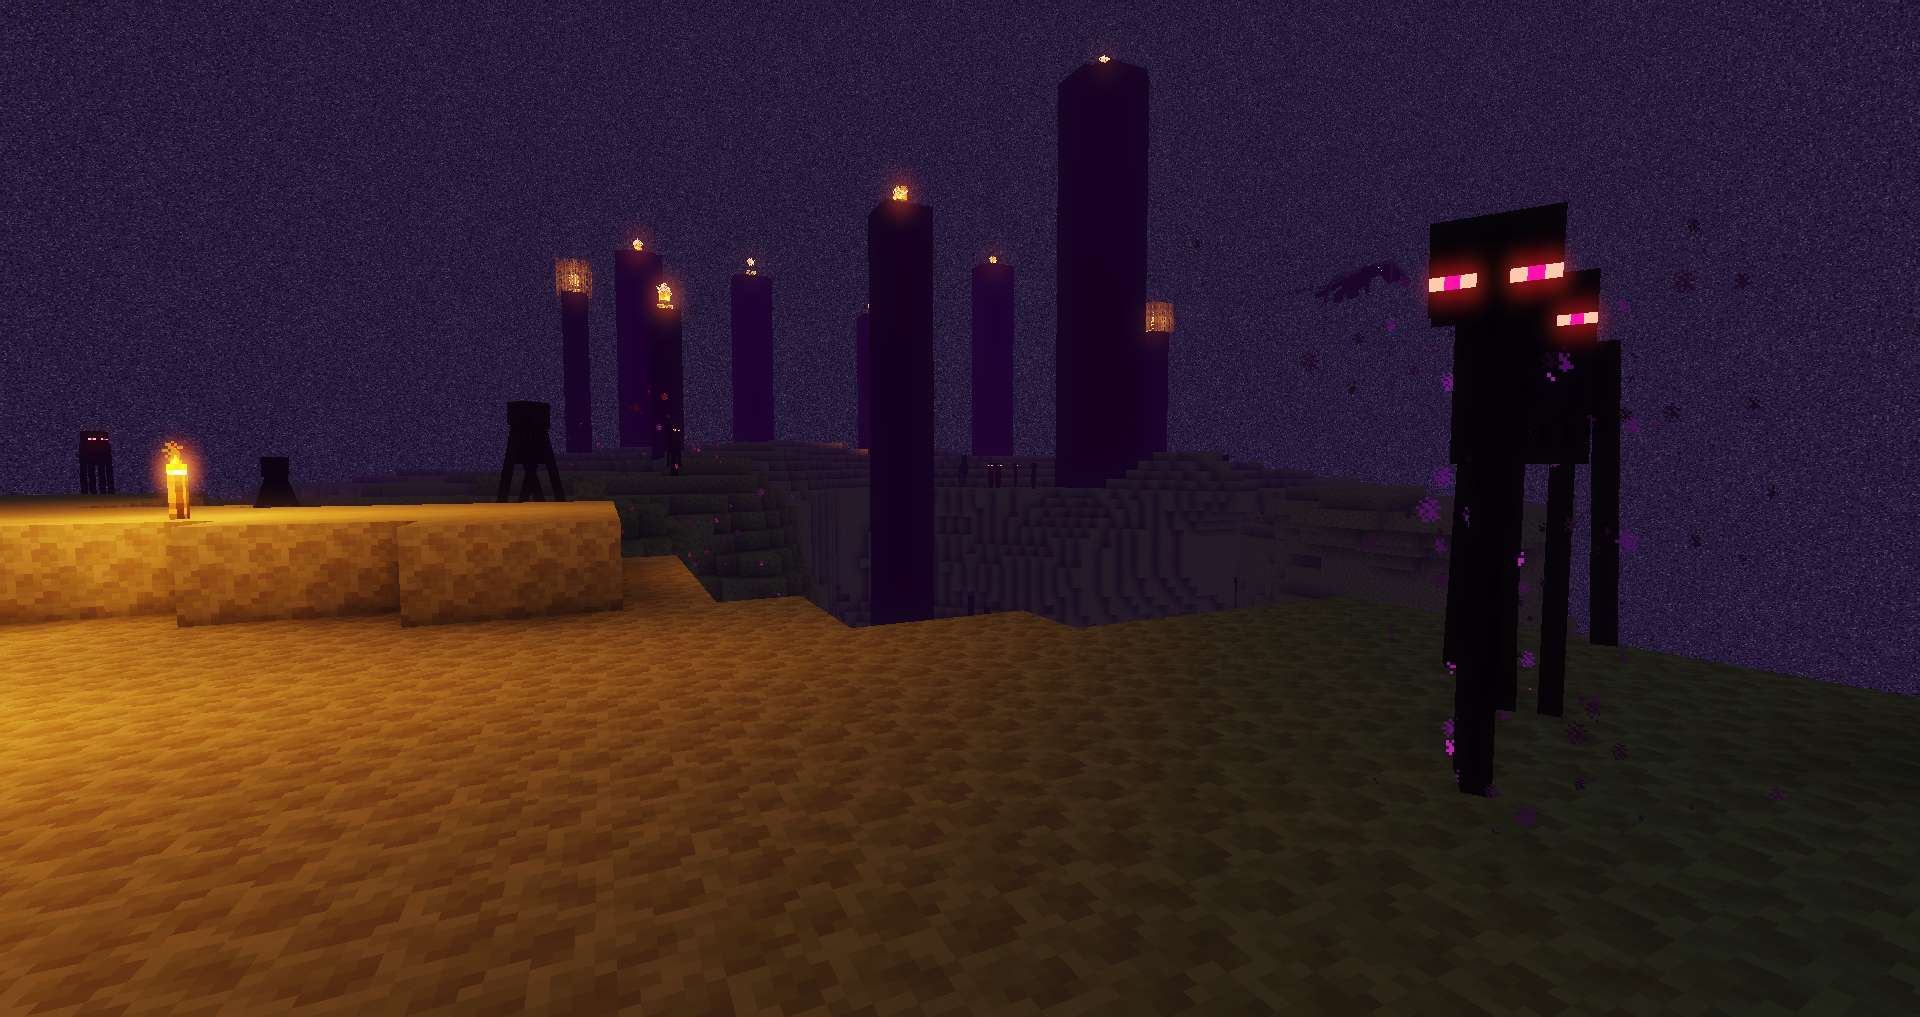
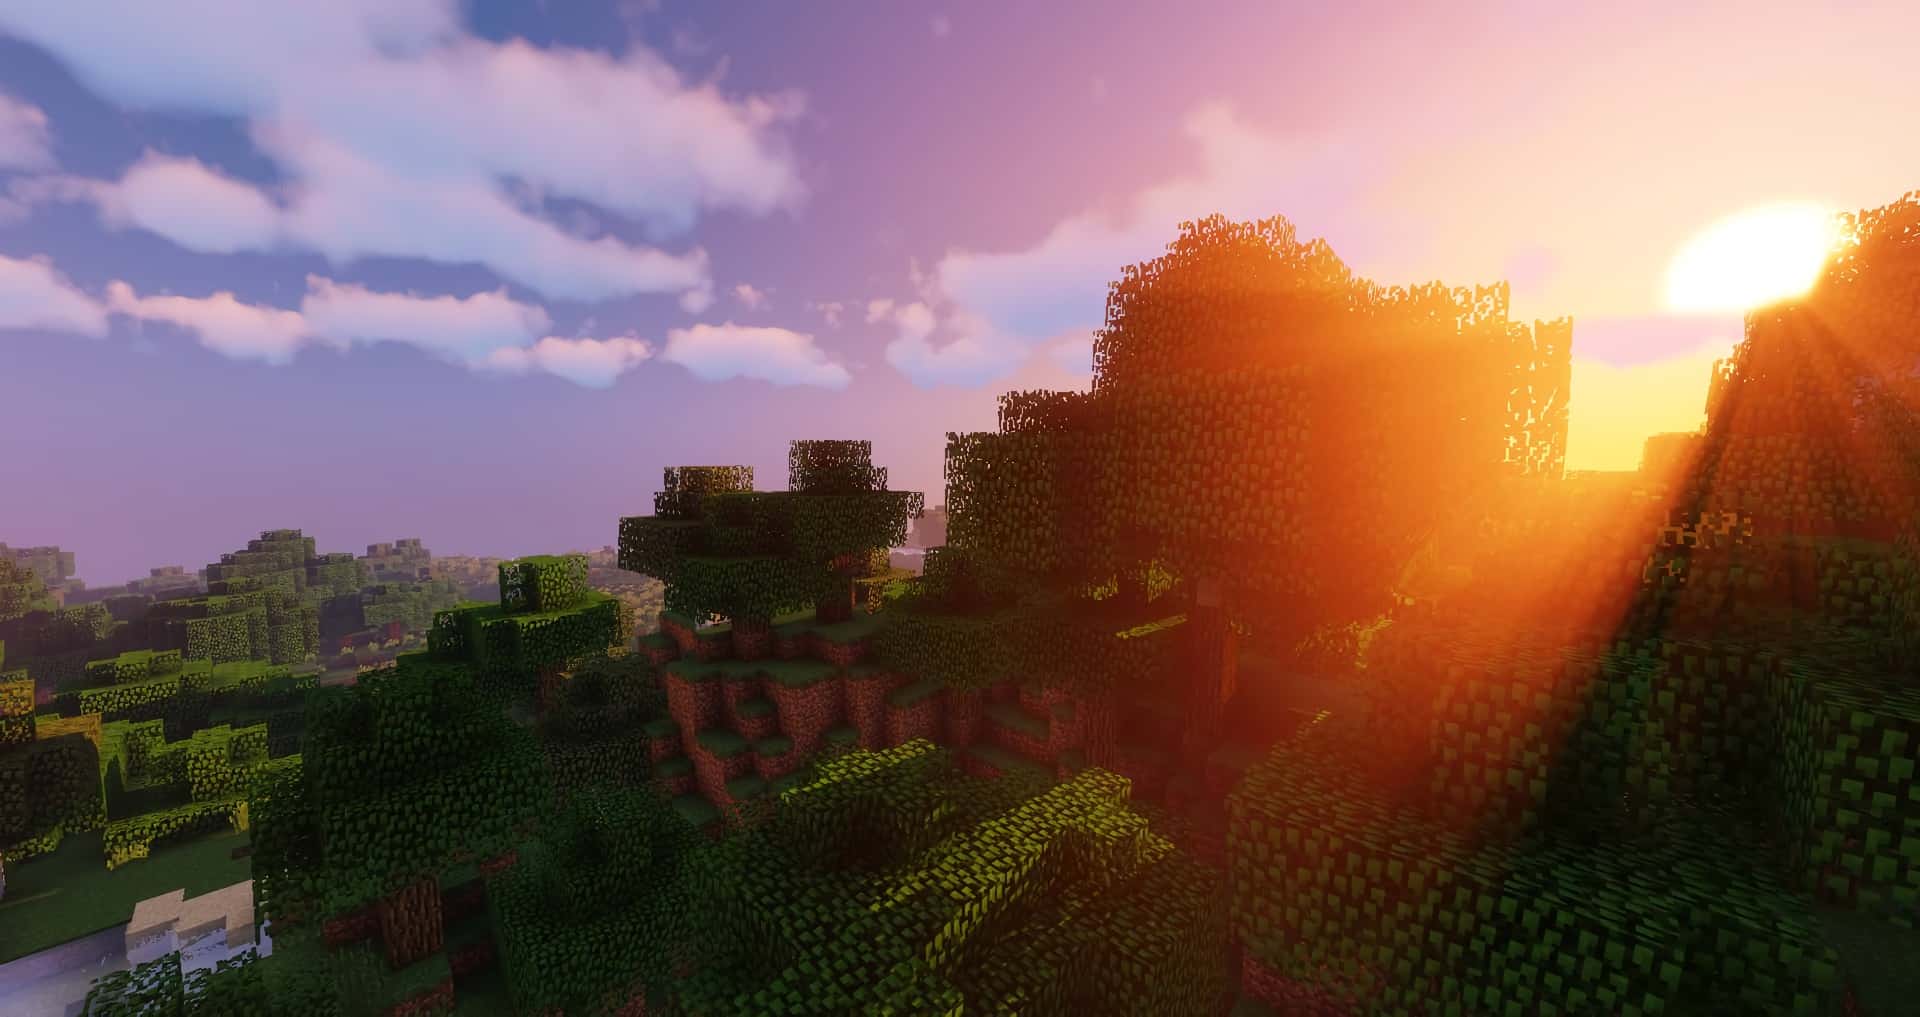
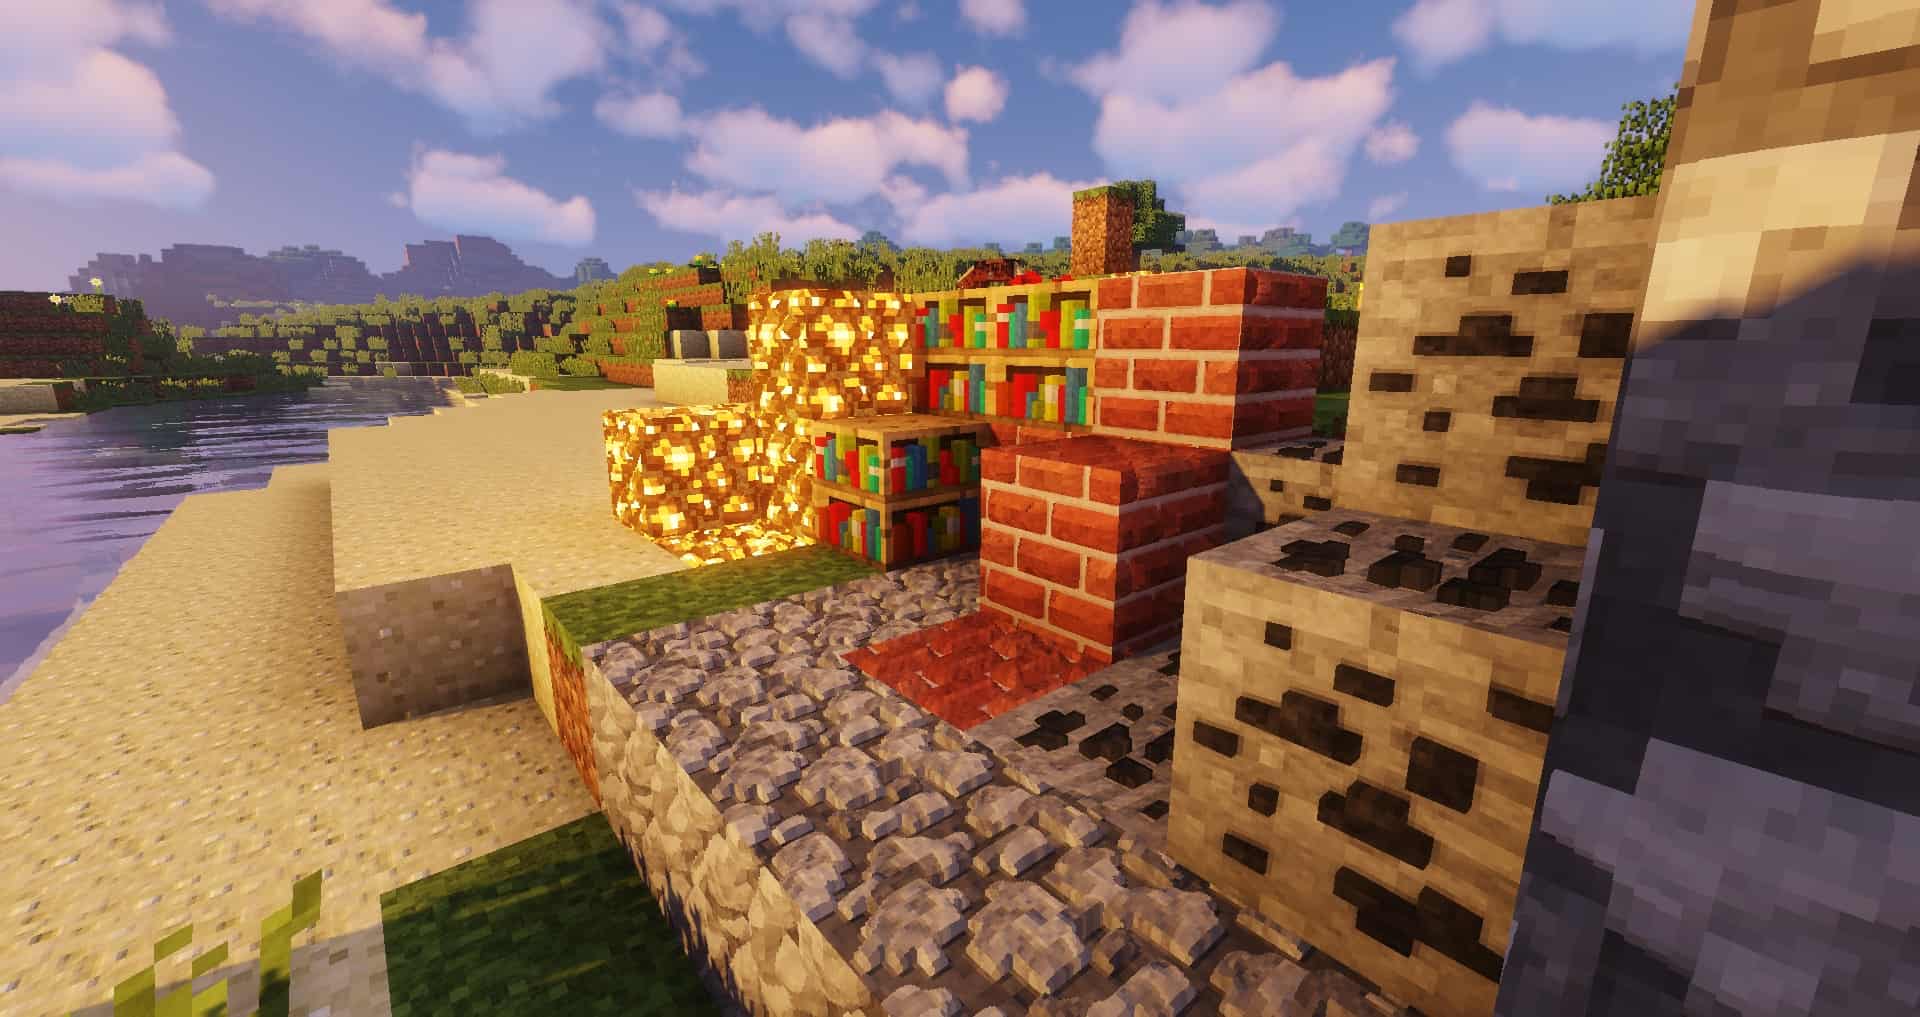
The reality for most of us is that vanilla Minecraft lighting still leaves quite a bit to be desired. Even when you max out smooth lighting and graphic settings, everything stubbornly retains that familiar blocky look. Thankfully, using Sildur’s shader pack completely transforms the overall appearance of the game, putting all the right focus on gorgeous visual enhancements. The light rolling around corners produces genuinely realistic shadows that look astonishingly close to real life. The moment you fire up the game with this mod active, the stunning effects are immediately visible and completely breathtaking. Just like any high-end shader, installing this requires you to keep an eye on your graphics processing power, but the best part is that Sildur’s shader gives you a ton of flexibility that other market packs simply lack.
In today’s crowded shader market, most options come with frustrating limitations. For instance, many only function on specific systems and demand an absolute powerhouse of a computer to run smoothly. Sildur’s Vibrant Shaders pack is wonderfully versatile, working across various setups without discriminating against the hardware you happen to own. On top of that, there are multiple flavors of Sildur’s Shaders to explore. The Vibrant Shaders set adds incredible graphics that make playing infinitely more engaging, offering tailored versions like Lite, High, High motion blur, Medium, and Extreme so you can pick the exact fit for your rig. You can also opt for basic or light versions, making it amazingly accessible for players who might have limited processing capabilities.
Sildur’s Vibrant Shaders should be compatible with all of these Minecraft versions: 26.2 – 26.1.2 – 26.1.1 – 26.1 – 1.21.11 – 1.21.10 – 1.21.9 – 1.21.8 – 1.21.7 – 1.21.6 – 1.21.5 – 1.21.4 – 1.21.3 – 1.21.2 – 1.21.1 – 1.21 – 1.20.6 – 1.20.5 – 1.20.4 – 1.20.3 – 1.20.2 – 1.20.1 – 1.20 – 1.19.4 – 1.19.3 – 1.19.2 – 1.19.1 – 1.19 – 1.18.2 – 1.18.1 – 1.18 – 1.17.1 – 1.17 – 1.16.5 – 1.16.4 – 1.16.3 – 1.16.2 – 1.16.1 – 1.16 – 1.15.2 – 1.15.1 – 1.15 – 1.14.4 – 1.14.3 – 1.14.2 – 1.14 – 1.13.2 – 1.13.1 – 1.13 – 1.12.2 – 1.12 – 1.11.2 – 1.11 – 1.10.2 – 1.10 – 1.9.4 – 1.9 – 1.8.9 – 1.8.8 – 1.8.6 – 1.8.1 – 1.8 – 1.7.10 – 1.7.9 – 1.7.4 – 1.7 – 1.6.4 – 1.6.2
Screenshots
How to Install Shader Pack (Simple and Easy 7 Steps)
- Install Minecraft: Make sure to have Minecraft on your PC.
- Set the Game Version: Open the Minecraft Launcher, go to the “Installations” tab, click “New Installation”, choose the version you want to play, and click “Create”.
- Install OptiFine or Iris: Download and install OptiFine or Iris (we recommend Iris for better performance).
- To download Iris, click here.
- To download OptiFine, click here.
- Launch with the Shader Mod: Open the Minecraft Launcher again and select the OptiFine or Iris profile you installed.
- Download the Shader Pack: Download the shader pack (.zip file) from the download section below. (Don’t unzip it!)
- Open the Shaderpacks Folder:
- For OptiFine: Go to Options > Video Settings > Shaders > Shaders Folder
- For Iris: Go to Options > Video Settings > Shader Packs > Open Shader Pack Folder
- Add and Activate the Shader Pack: Move the downloaded .zip file into the shaderpacks folder. Then go back to the game, select the shader pack from the list, and click “Done” to activate it.
Credits
Credits to Sildur for creating Sildur’s Vibrant Shaders. We do not claim ownership of this shader pack, nor do we host modified files. All rights remain with the original author. Please support Sildur by downloading directly from the official sources.
Download Links
Java Edition
- [Lite] Sildur’s Vibrant Shaders (1.7.x – 26.2.x)
- [Medium] Sildur’s Vibrant Shaders (1.7.x – 26.2.x)
- [High] Sildur’s Vibrant Shaders (1.7.x – 26.2.x)
- [High-Motionblur] Sildur’s Vibrant Shaders (1.7.x – 26.2.x)
- [Extreme] Sildur’s Vibrant Shaders (1.7.x – 26.2.x)
- [Extreme-Volumetric lighting] Sildur’s Vibrant Shaders (1.7.x – 26.2.x)
- [Fast] Sildur’s Enhanced Default Shaders (1.7.x – 26.2.x)
- [Fancy] Sildur’s Enhanced Default Shaders (1.7.x – 26.2.x)
Download Instructions
Curseforge: download starts automatically after a few seconds;
Mediafire: click the big blue button with the text “DOWNLOAD”;
Google Drive: in the top right corner you will see a small download icon (down arrow), click it and the download should start;