 Minecraft Texture Packs Minecraft Resource Packs
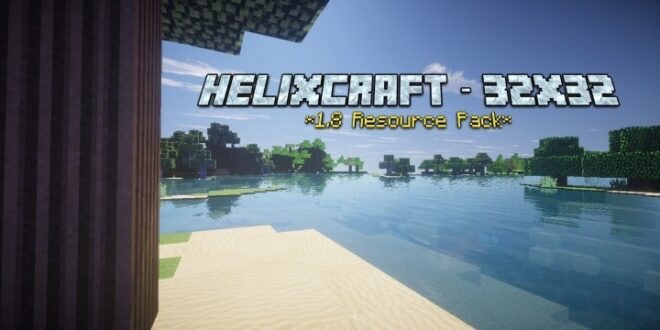
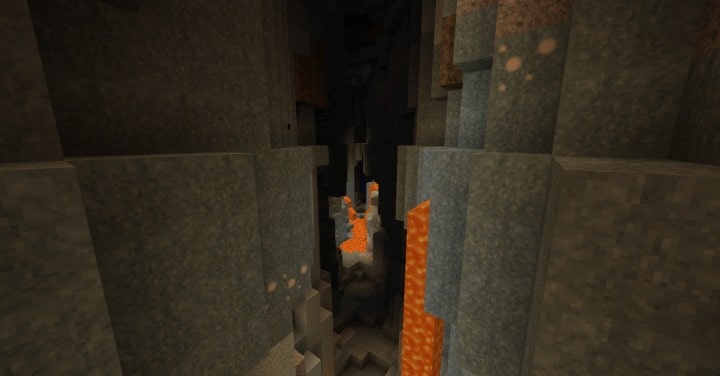
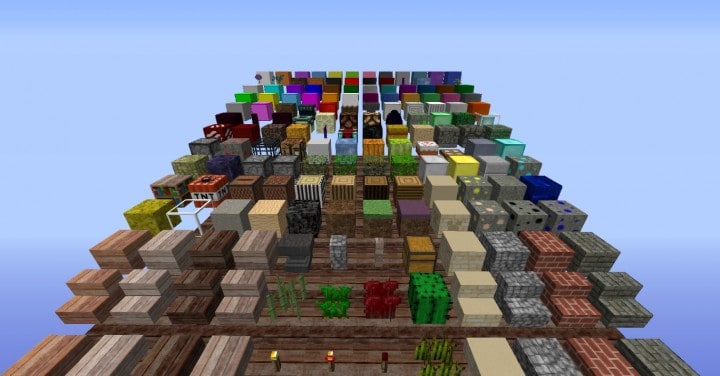
If you are like me and want something far beyond the regular uniformity of standard block textures, you are going to thoroughly enjoy the HelixCraft resource pack. I tested it out, and right away I noticed that blocks like dirt, grass, and even trees look like they were meticulously built element by element, rather than just being singular items with basic marks for identification and slight texture variations. The trees are a great example of this style; with HelixCraft, a tree looks as though its shape is constructed out of hundreds of individual sections of wood pasted together. Of course, trees are just one part of the visual overhaul, and I was genuinely impressed by how the other textures hold up just as well. Take lava, for instance—it looks absolutely stunning thanks to clever lighting effects and animated elements that make it feel truly unique in your world.
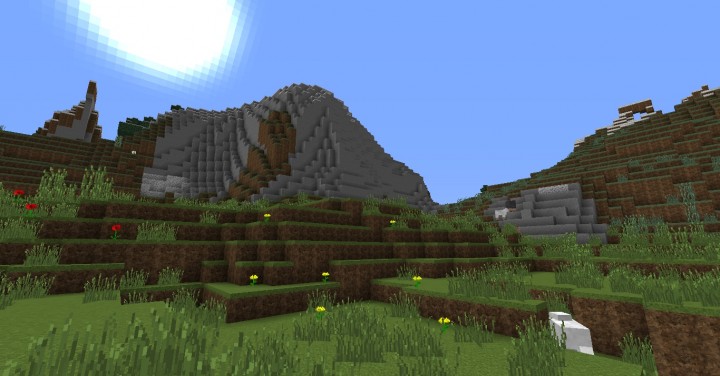
When exploring tundras or mountains, I quickly realized that snow layers do not just spread out as a flat, massive patch. Instead, this pack introduces a distinct square outline on top of every single block, even the ones covered in snow. Honestly, this visual quirk can feel a bit disorienting at first, but once you get past that initial unfamiliarity, you will find a remarkably well-crafted resource pack. Operating at a crisp 32x resolution, the game remains completely smooth and playable for almost everyone running Minecraft on their hardware. Best of all, I had no trouble running it alongside other mods designed for the same version. With consistent updates being rolled out, this pack is only going to continue getting better and better over time.
HelixCraft should be compatible with all of these Minecraft versions: 1.12.2 – 1.12 – 1.11.2 – 1.11 – 1.10.2 – 1.10
Screenshots
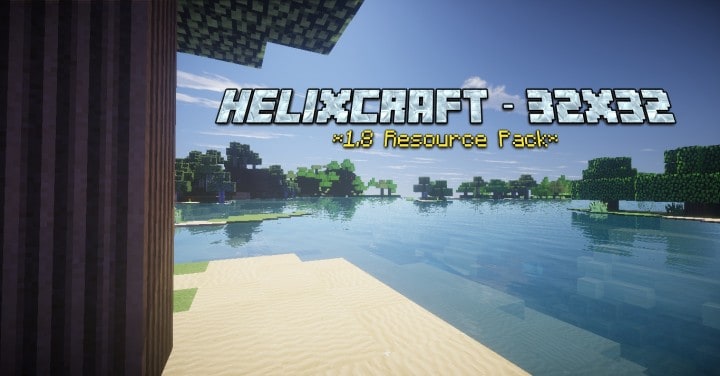
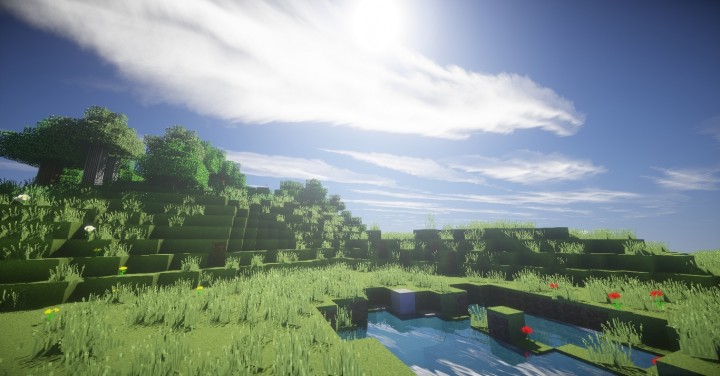
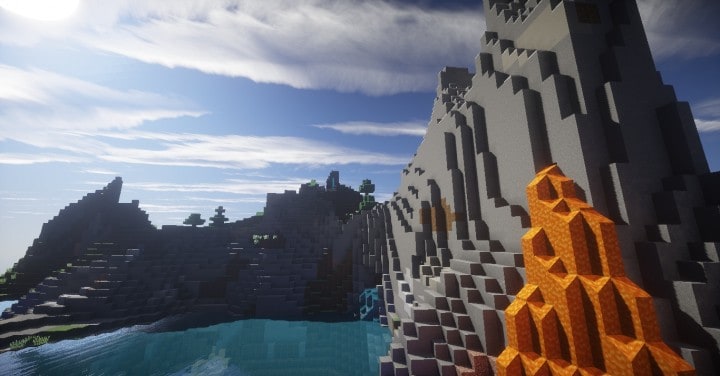
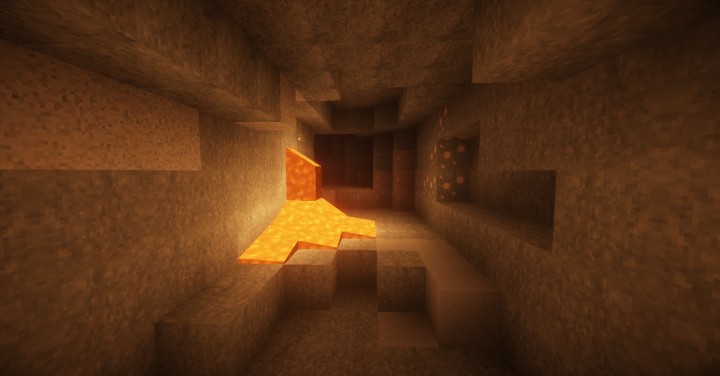
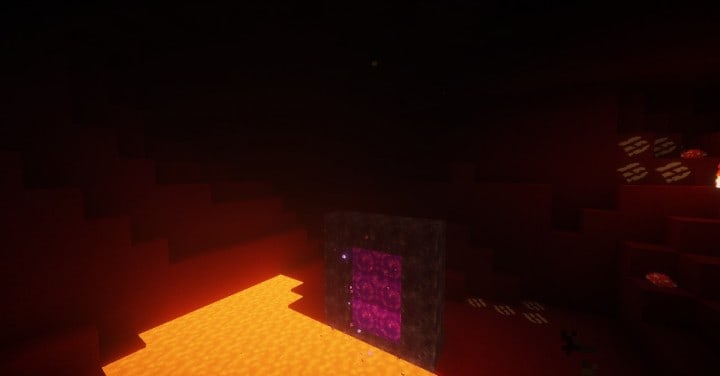
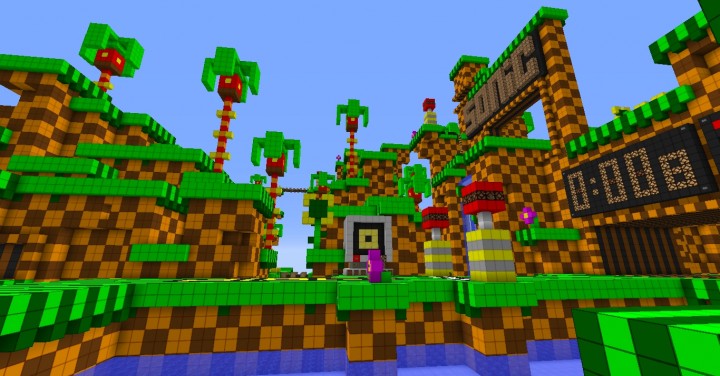
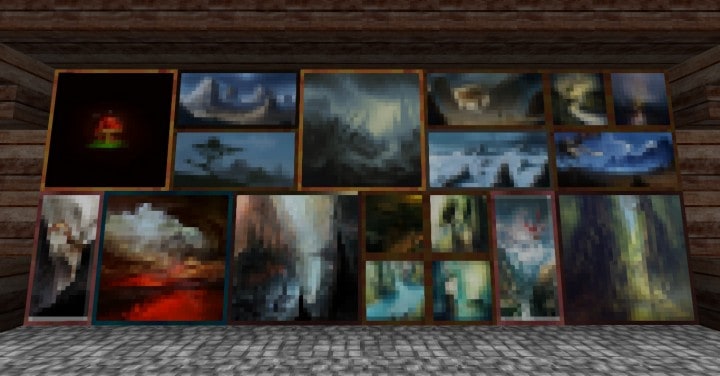
How to Install Texture Pack (Simple 10 Steps)
- Download OptiFine: Most of the texture packs and shaders need OptiFine. That’s why, first download and install OptiFine for the version of Minecraft you want to play.
- Download the Texture Pack: Get the texture pack you want from the download section. Choose the version that works with your Minecraft and your PC’s performance.
- Open Minecraft Launcher: Start Minecraft using the official game launcher — or even TLauncher, if you use that.
- Go to Options: From the main menu, click on the “Options” button.
- Open Resource Packs: Inside Options, click on “Resource Packs…”.
- Open the Resource Pack Folder: Click on “Open Resource Pack Folder” — this will open a folder named “resourcepacks”.
- Move the Pack File: Copy or move the .zip file you downloaded into that “resourcepacks” folder. (Don’t unzip the file — Minecraft uses it as-is!)
- Go Back and Refresh: Close the folder and click “Done”, then go back into “Resource Packs…” again.
- Activate the Pack: You’ll see the pack on the left side. Hover over it and click the arrow to move it to the right (active side).
Tip: If you get a message that the pack is for a different version, just click “Yes” — it usually works fine. - Click Done and Enjoy: Click “Done” again. Now your pack is ready to use in-game. It’s that easy!
Credits
This resource pack was created by LordCakeThief. We are not the original owners or developers of this content, and we do not claim ownership of any files provided. All rights and credits belong entirely to the original author. We strongly encourage you to support the creator by downloading from their official links and visiting their official pages.
Download Links
Java Edition
Download Instructions
Curseforge: download starts automatically after a few seconds;
Mediafire: click the big blue button with the text “DOWNLOAD”;
Google Drive: in the top right corner you will see a small download icon (down arrow), click it and the download should start;